This guide is designed to help Partner Managers effectively use the Partner Resources feature to add, manage, and share guides and resources with partners.Documentation Index
Fetch the complete documentation index at: https://docs.cello.so/llms.txt
Use this file to discover all available pages before exploring further.
 The Partner Resources section is a dedicated space for creating and managing guides and content that can be shared with your partners. It allows you to:
- Add new guides with detailed descriptions and cover images.
- Organize resources for easy partner access.
- Provide links to videos, articles, or pages to help partners promote your products or services.
Adding a New Guide
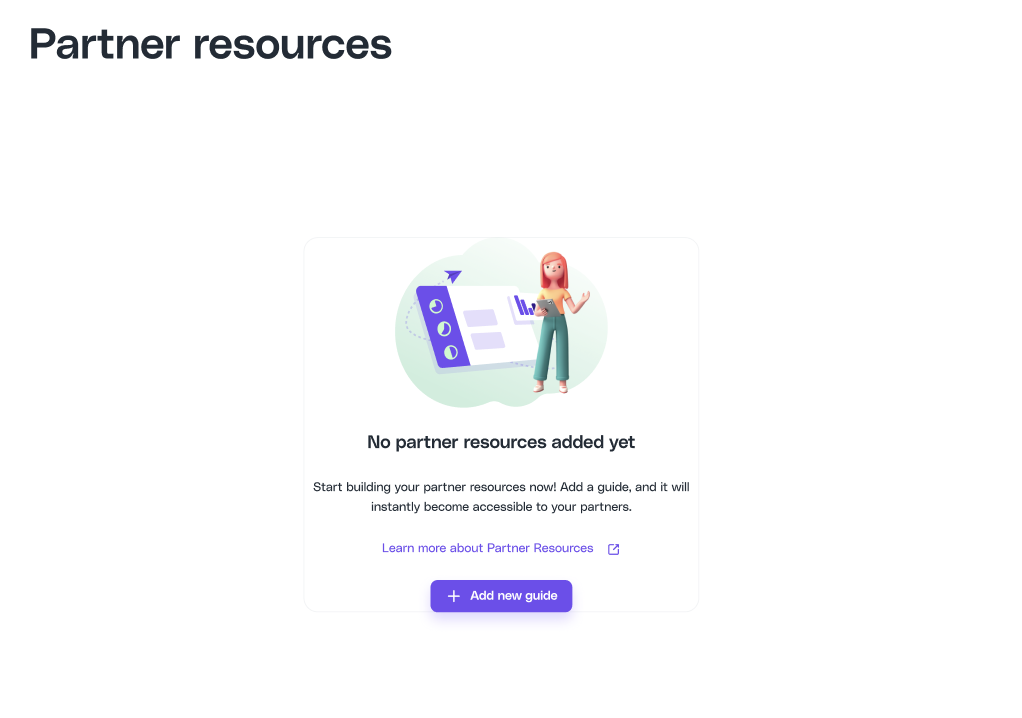 If no resources are added yet, you’ll see a placeholder message encouraging you to create your first guide.
-
Click the “Add New Guide” Button:
- Located at the top right of the Partner Resources dashboard.
-
Fill Out the Form:
- Title: Enter a clear and concise title for the guide.
- Description: Provide a brief description of the guide’s purpose.
- Cover Image: Upload an image to visually represent the guide. Use the “Select files” area to drag and drop or browse files from your machine.
- Link: Add a URL to direct partners to the guide’s content, such as a video, article, or webpage.
-
Save the Guide:
- Click the Add button to save the guide.
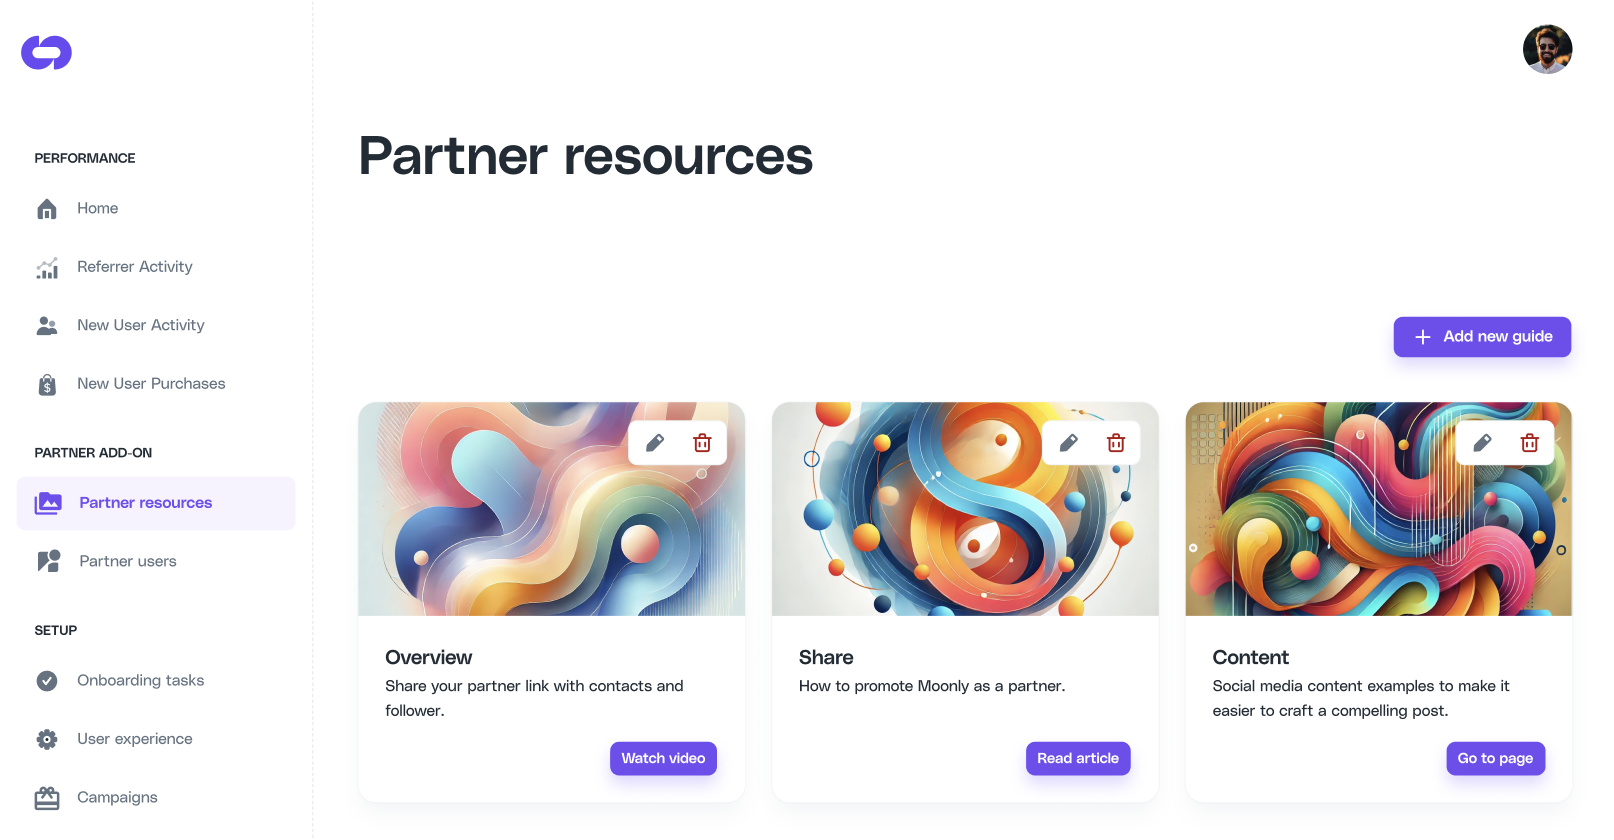
Managing Existing Guides
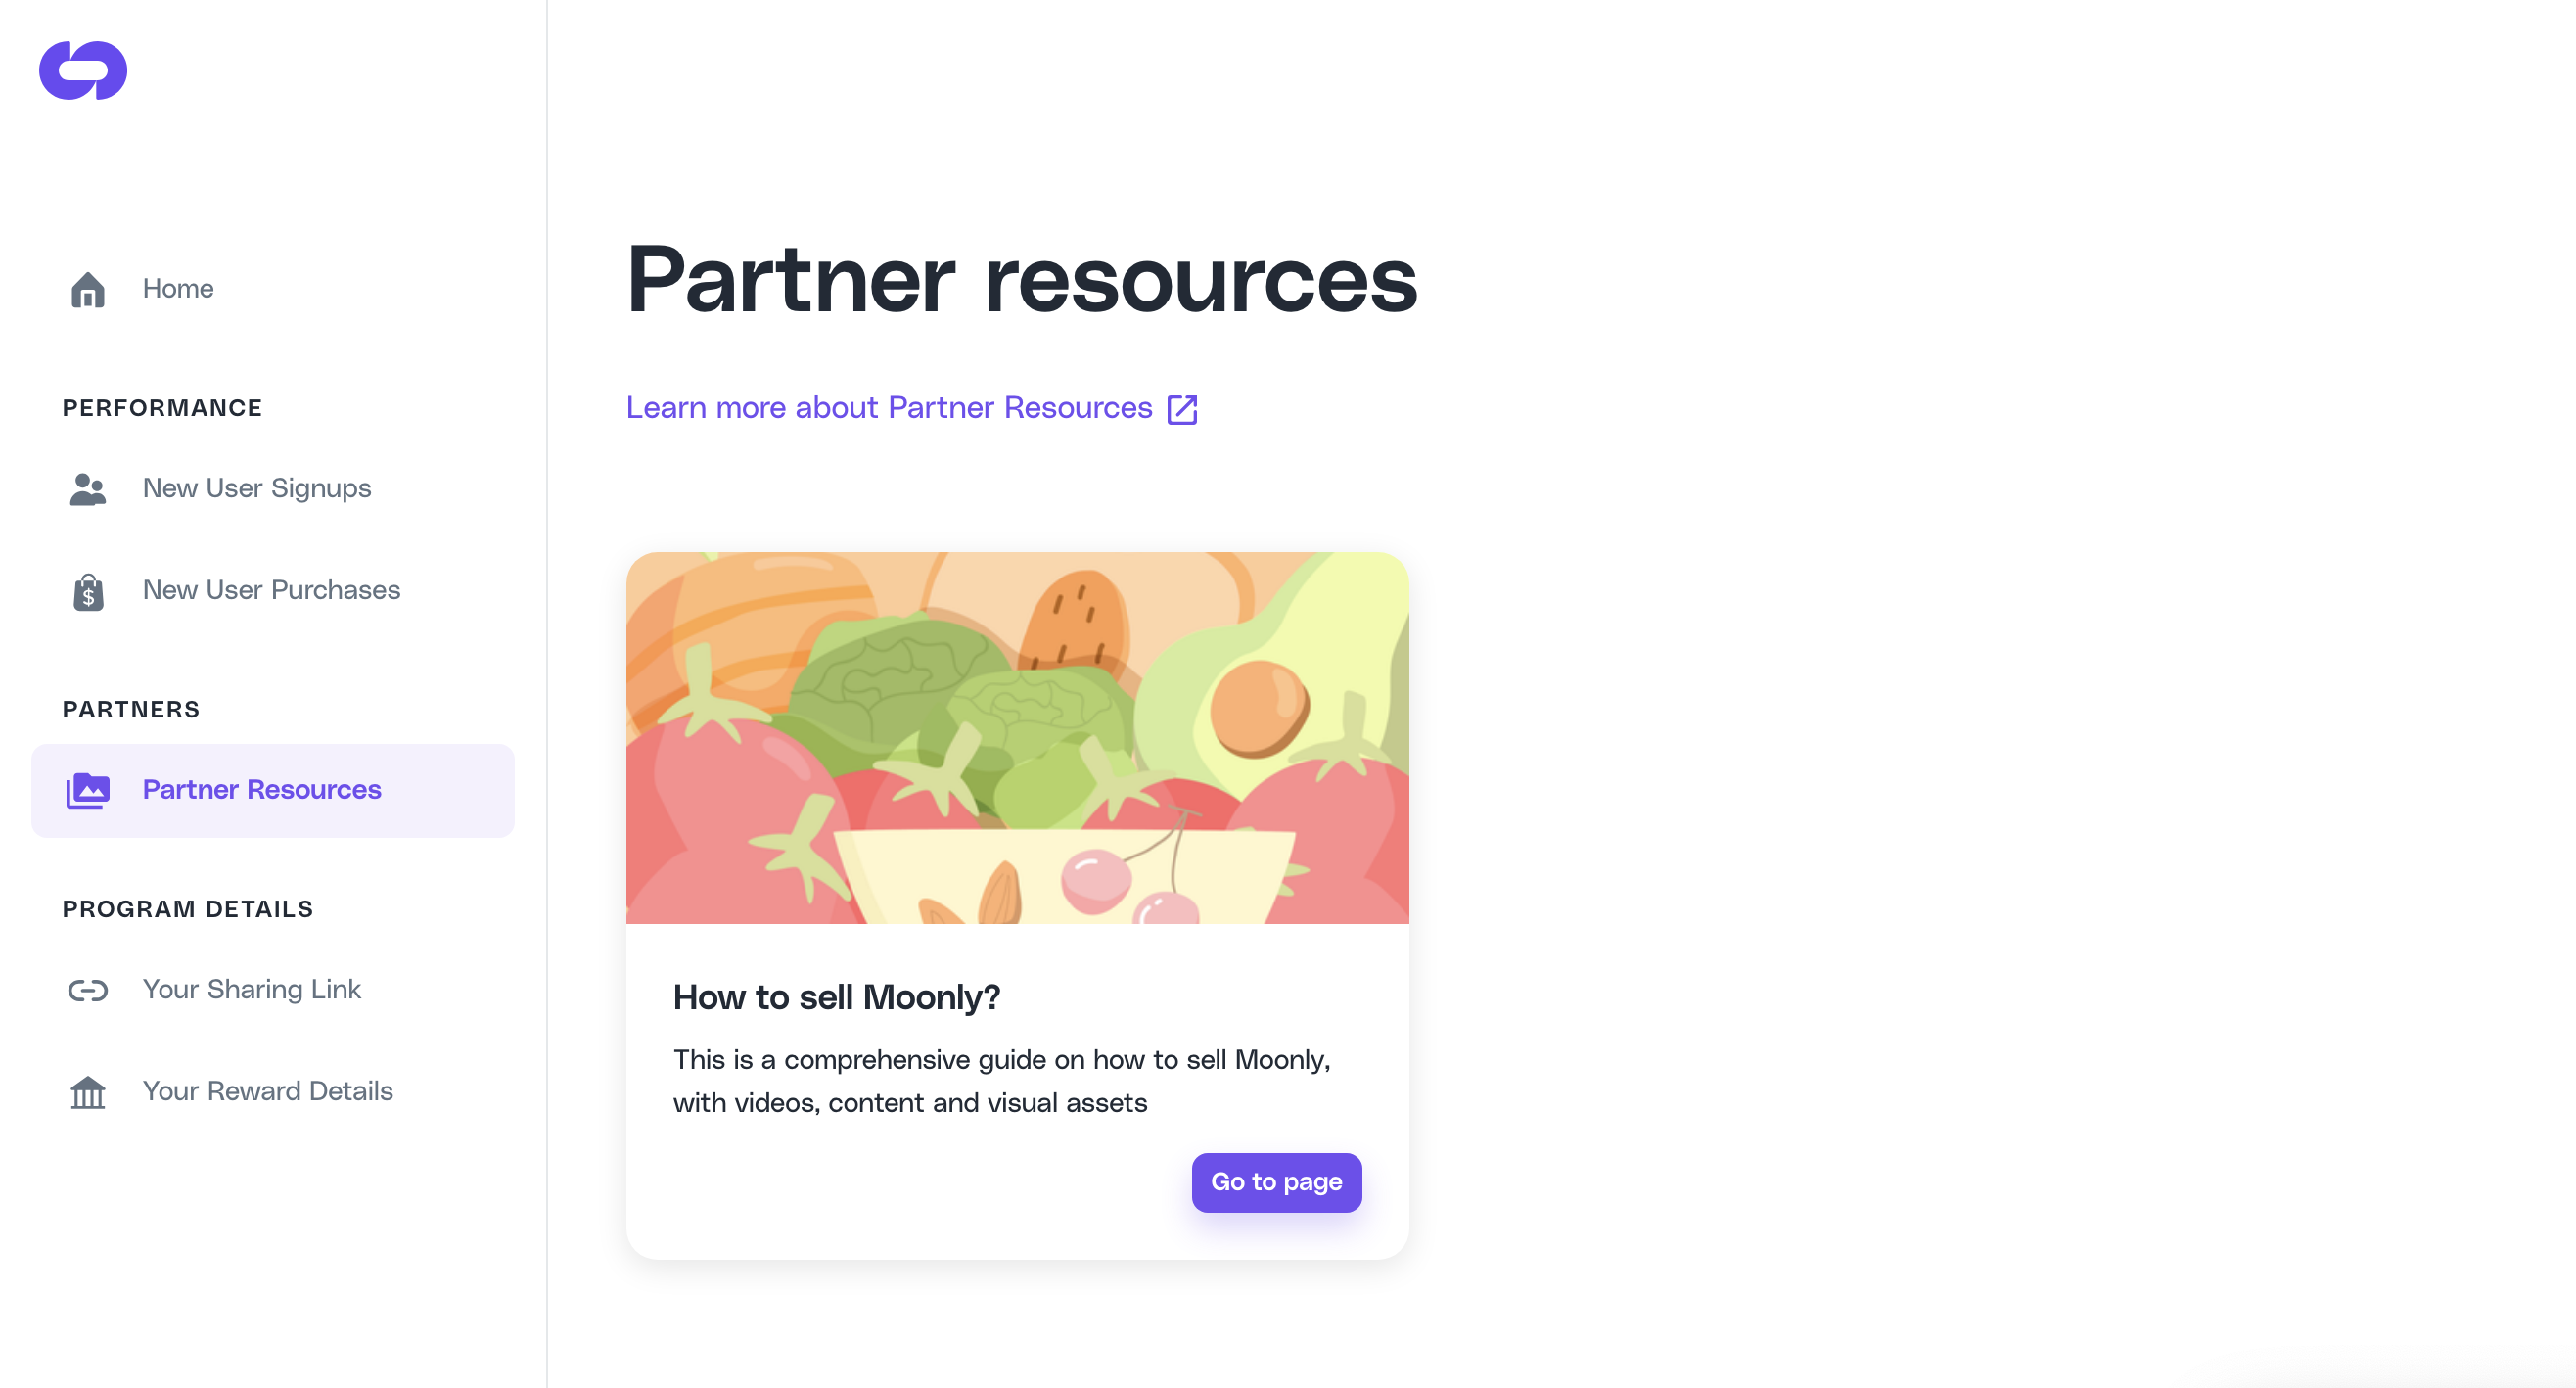
Once guides are added, they appear as individual cards in the Partner Resources dashboard. Each card includes:- Title and Description: A quick summary of the guide.
-
Actions:
- Edit: Use the pencil icon to update the guide’s details.
- Delete: Use the trash icon to remove the guide.
-
Call-to-Action Buttons:
- Depending on the link type, buttons like “Watch Video,” “Read Article,” or “Go to Page” will appear, directing users to the linked resource.
Best Practices for Creating Guides
-
Use Descriptive Titles and Images:
- Ensure titles are specific and relevant to the guide’s content.
- Upload visually appealing and professional cover images to attract attention.
-
Organize by Purpose:
- Group guides by themes, such as “Overview,” “Sharing Tips,” or “Content Creation Examples,” for easier navigation.
-
Test Links:
- Verify that all links lead to the correct resource and are accessible to partners.