Overview
A notification event is securely sent to Cello through the webhook endpoint every time a customer makes a purchase or a customer record is created or updated. Cello checks these events to perform the following actions:- Determine if a reward for the referrer needs to be created and paid out
- Inform the referrer about new signups and rewards
- Cancel recurring rewards if a subscription is cancelled
Endpoint URLs
You will find the webhook endpoint URL in the Cello Portal Webhooks page.Connecting Stripe
Prerequisites
Before configuring webhooks, ensure your Stripe customers include the required Cello metadata. This metadata enables proper attribution and reward tracking.When to add metadata:
- If you create Stripe customers at signup → You would have already added metadata to the customer during the Setup Step “Track Signups”
- If you create Stripe customers at purchase → Make sure to add metadata when creating the customer
Required Stripe Customer Metadata
Pass the following fields during Stripe Checkout in the Customer Object and Checkout Session objectSteps
You will add a webhook to your Stripe configuration to connect Stripe and Cello. This can be done in both test and production environments separately.1
Log into your Stripe Dashboard
2
Go to Developer Mode
Select Developers from the upper right menu.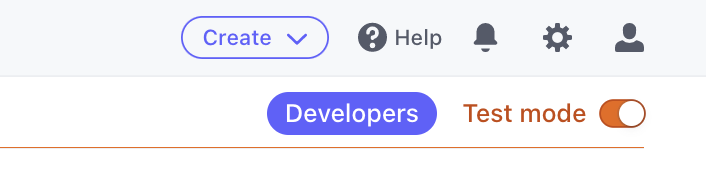
3
Add a Webhook endpoint
You can find Webhooks at the left menu. Next click Add an endpoint. 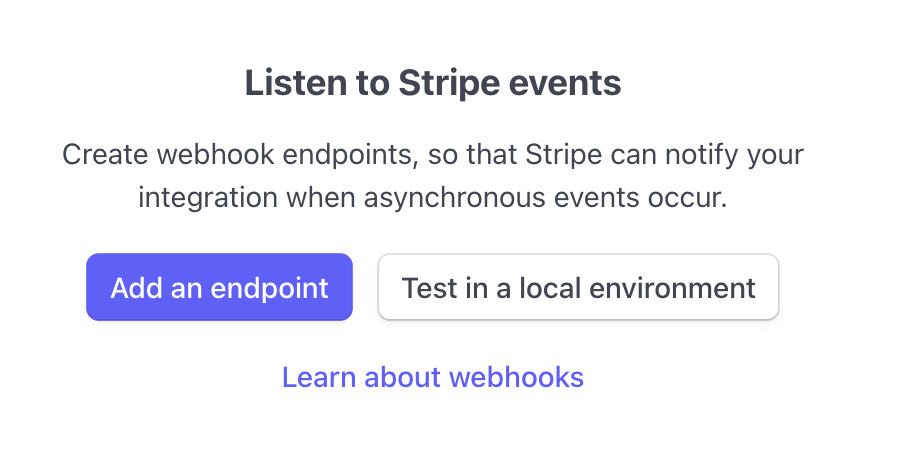
4
Enter the Endpoint URL
Choose the Endpoint URL corresponding to the environment you are setting up: Sandbox or Production. 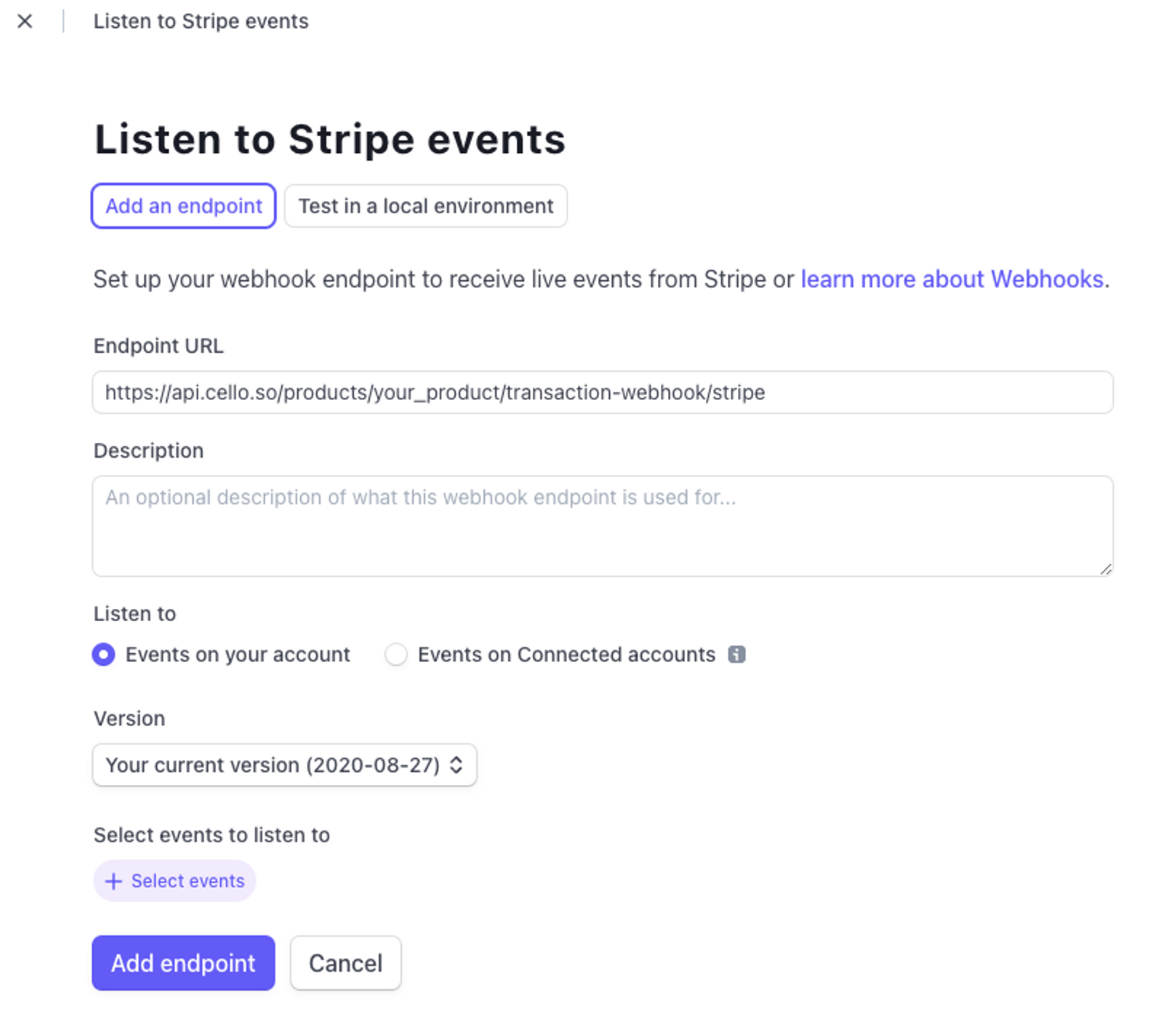
5
Select the events to send
To select events, do the following steps:
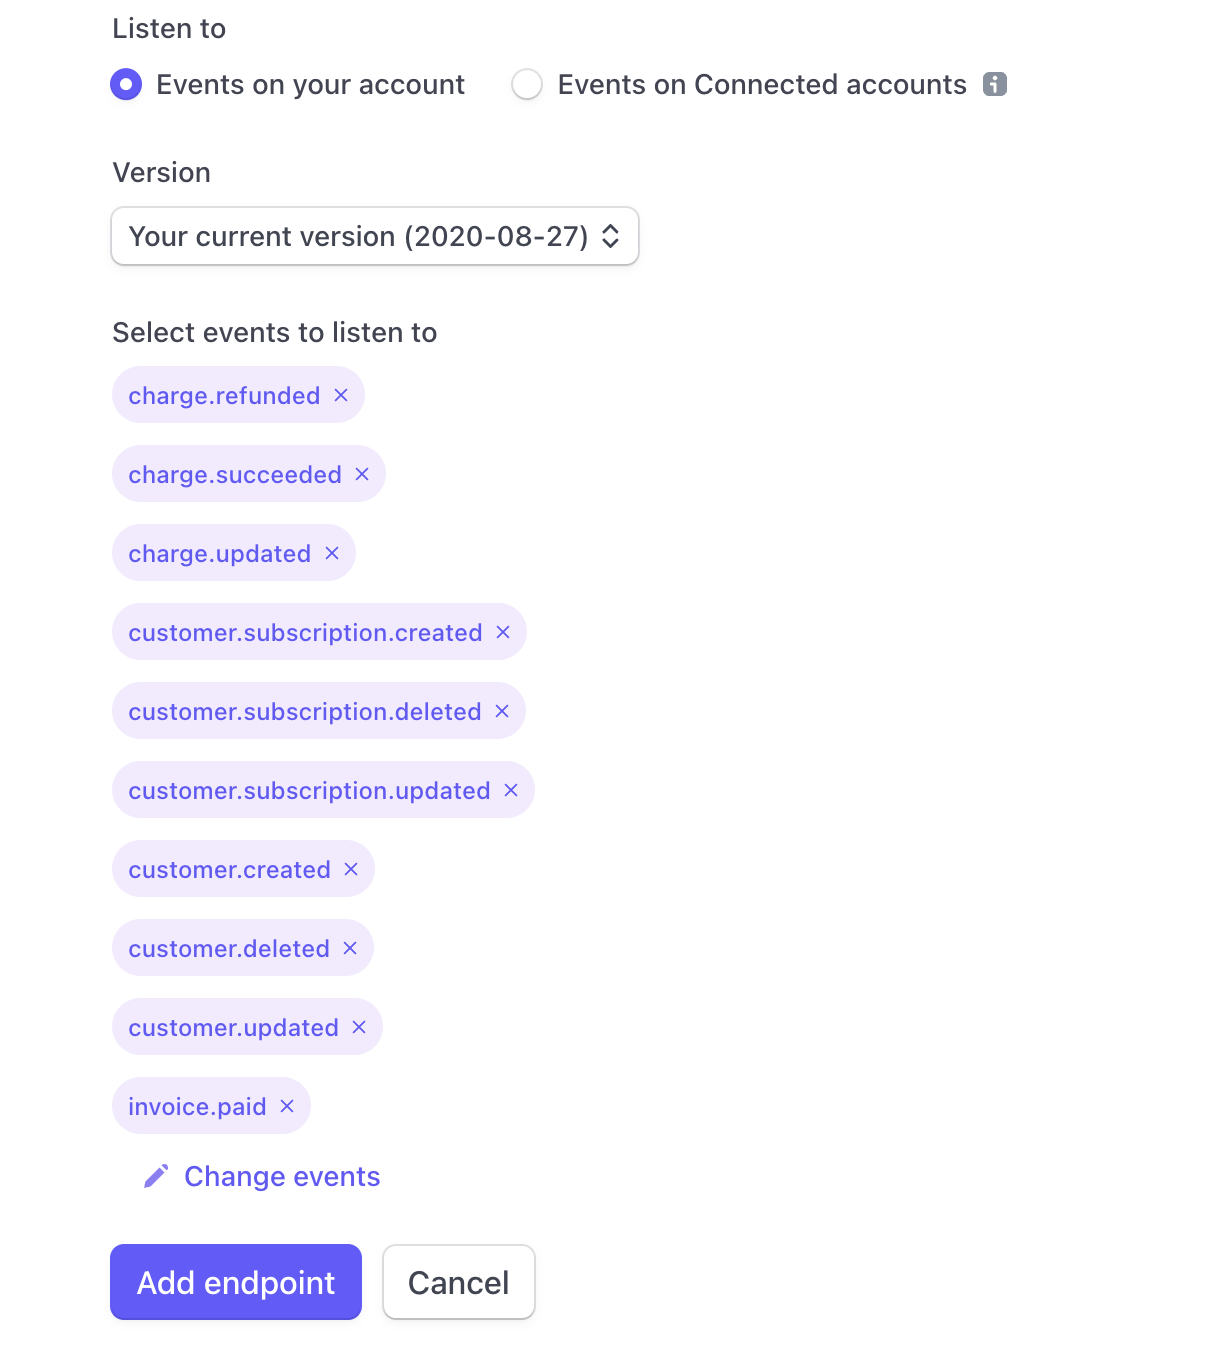
- Select “Events on your account”
- Select your latest API version
-
Choose events to send:
charge.refunded,charge.succeeded,charge.updatedcustomer.created,customer.deleted,customer.updatedcustomer.subscription.created,customer.subscription.deleted,customer.subscription.updatedinvoice.paid
6
Click "Add endpoint"
Webhook created!
7
Secure the Webhook
To secure the connection, you need to add the “Signing secret” to Stripe Webhook Configuration in Cello Portal.
Stripe Webhook Signing secret starts with
whsec_- Click “Reveal” and copy the Signing secret
- Add the Signing secret to Stripe webhook settings in the Cello portal.
