Make sure MCP is enabled for your account and grab your MCP Server URL first. The examples above use the Production URL; swap in your Sandbox URL (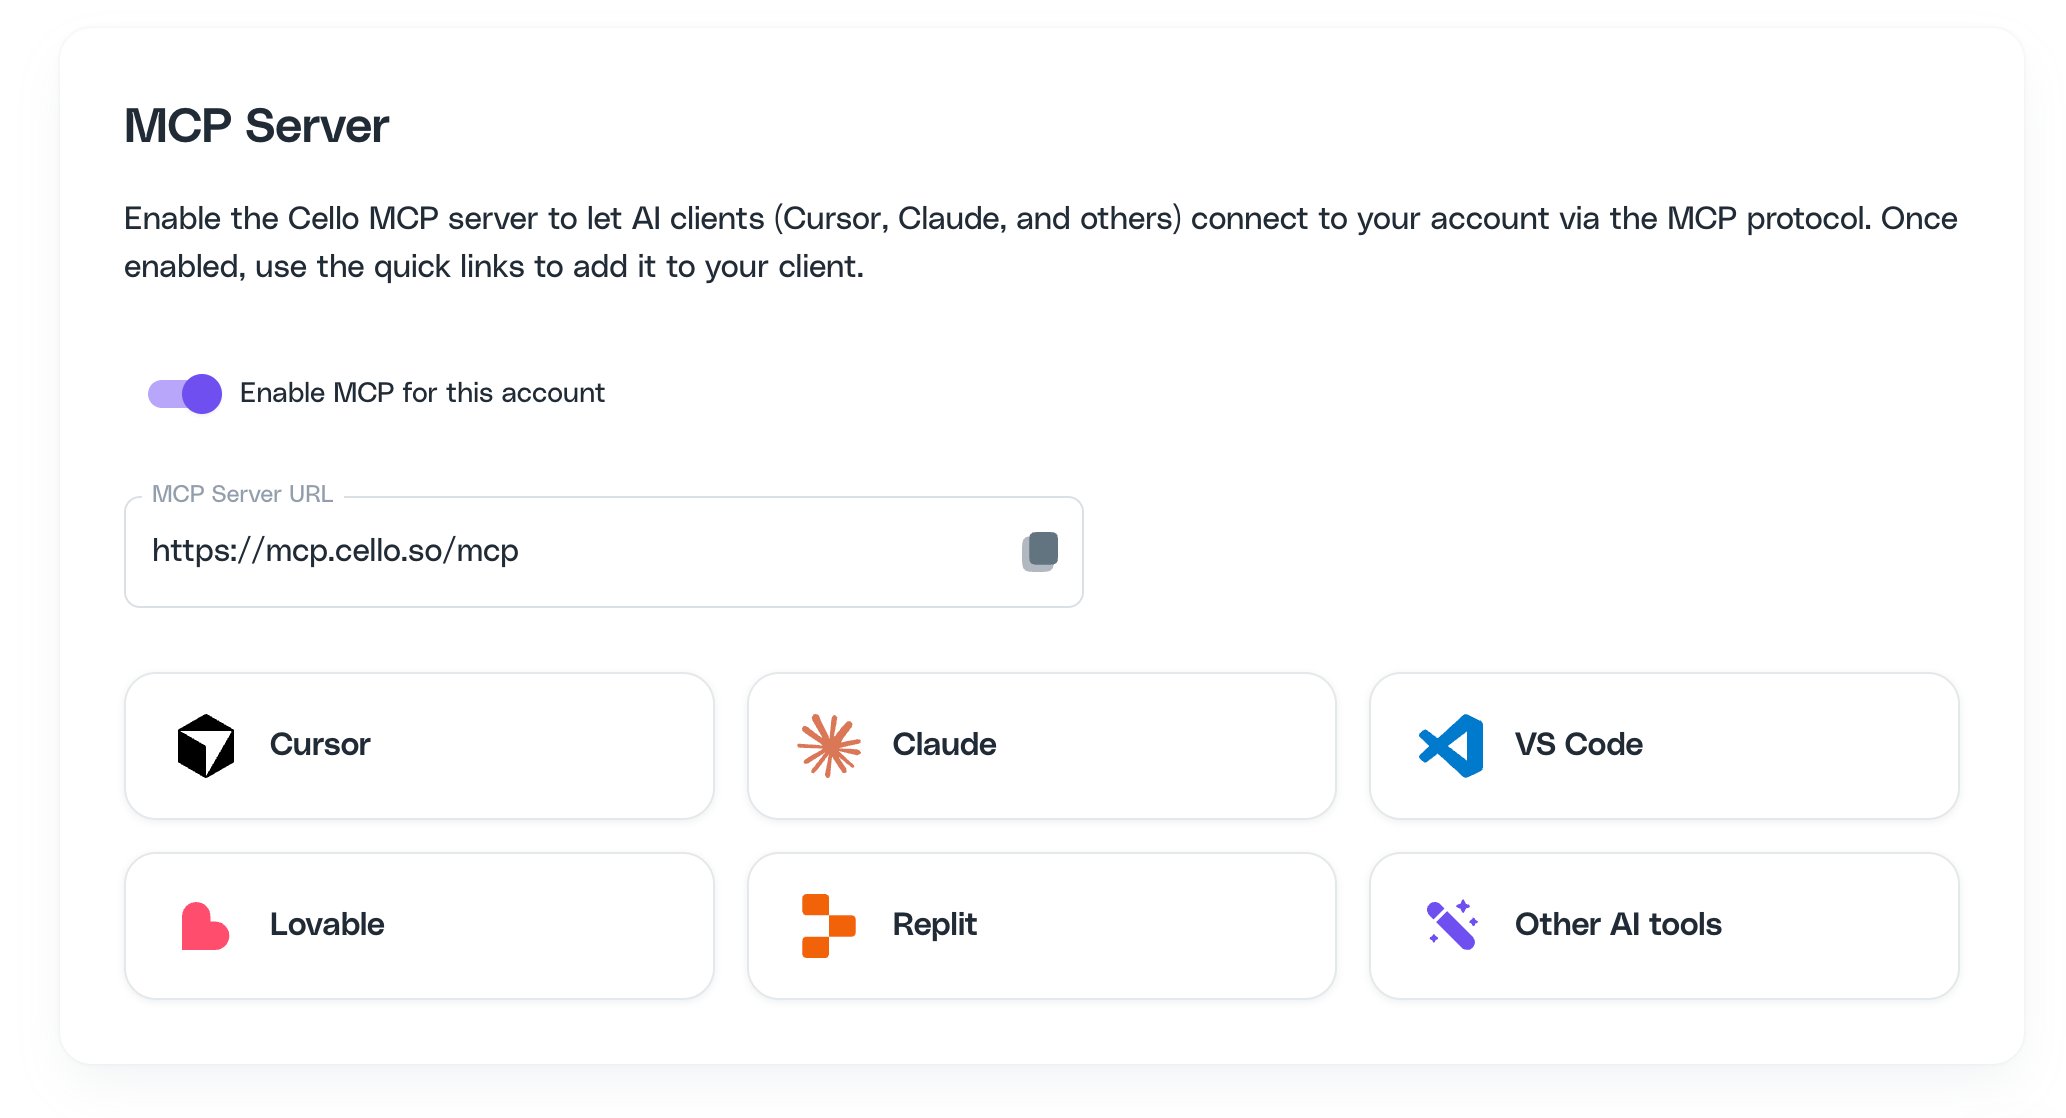
https://mcp.sandbox.cello.so/mcp) if connecting a test account.Claude
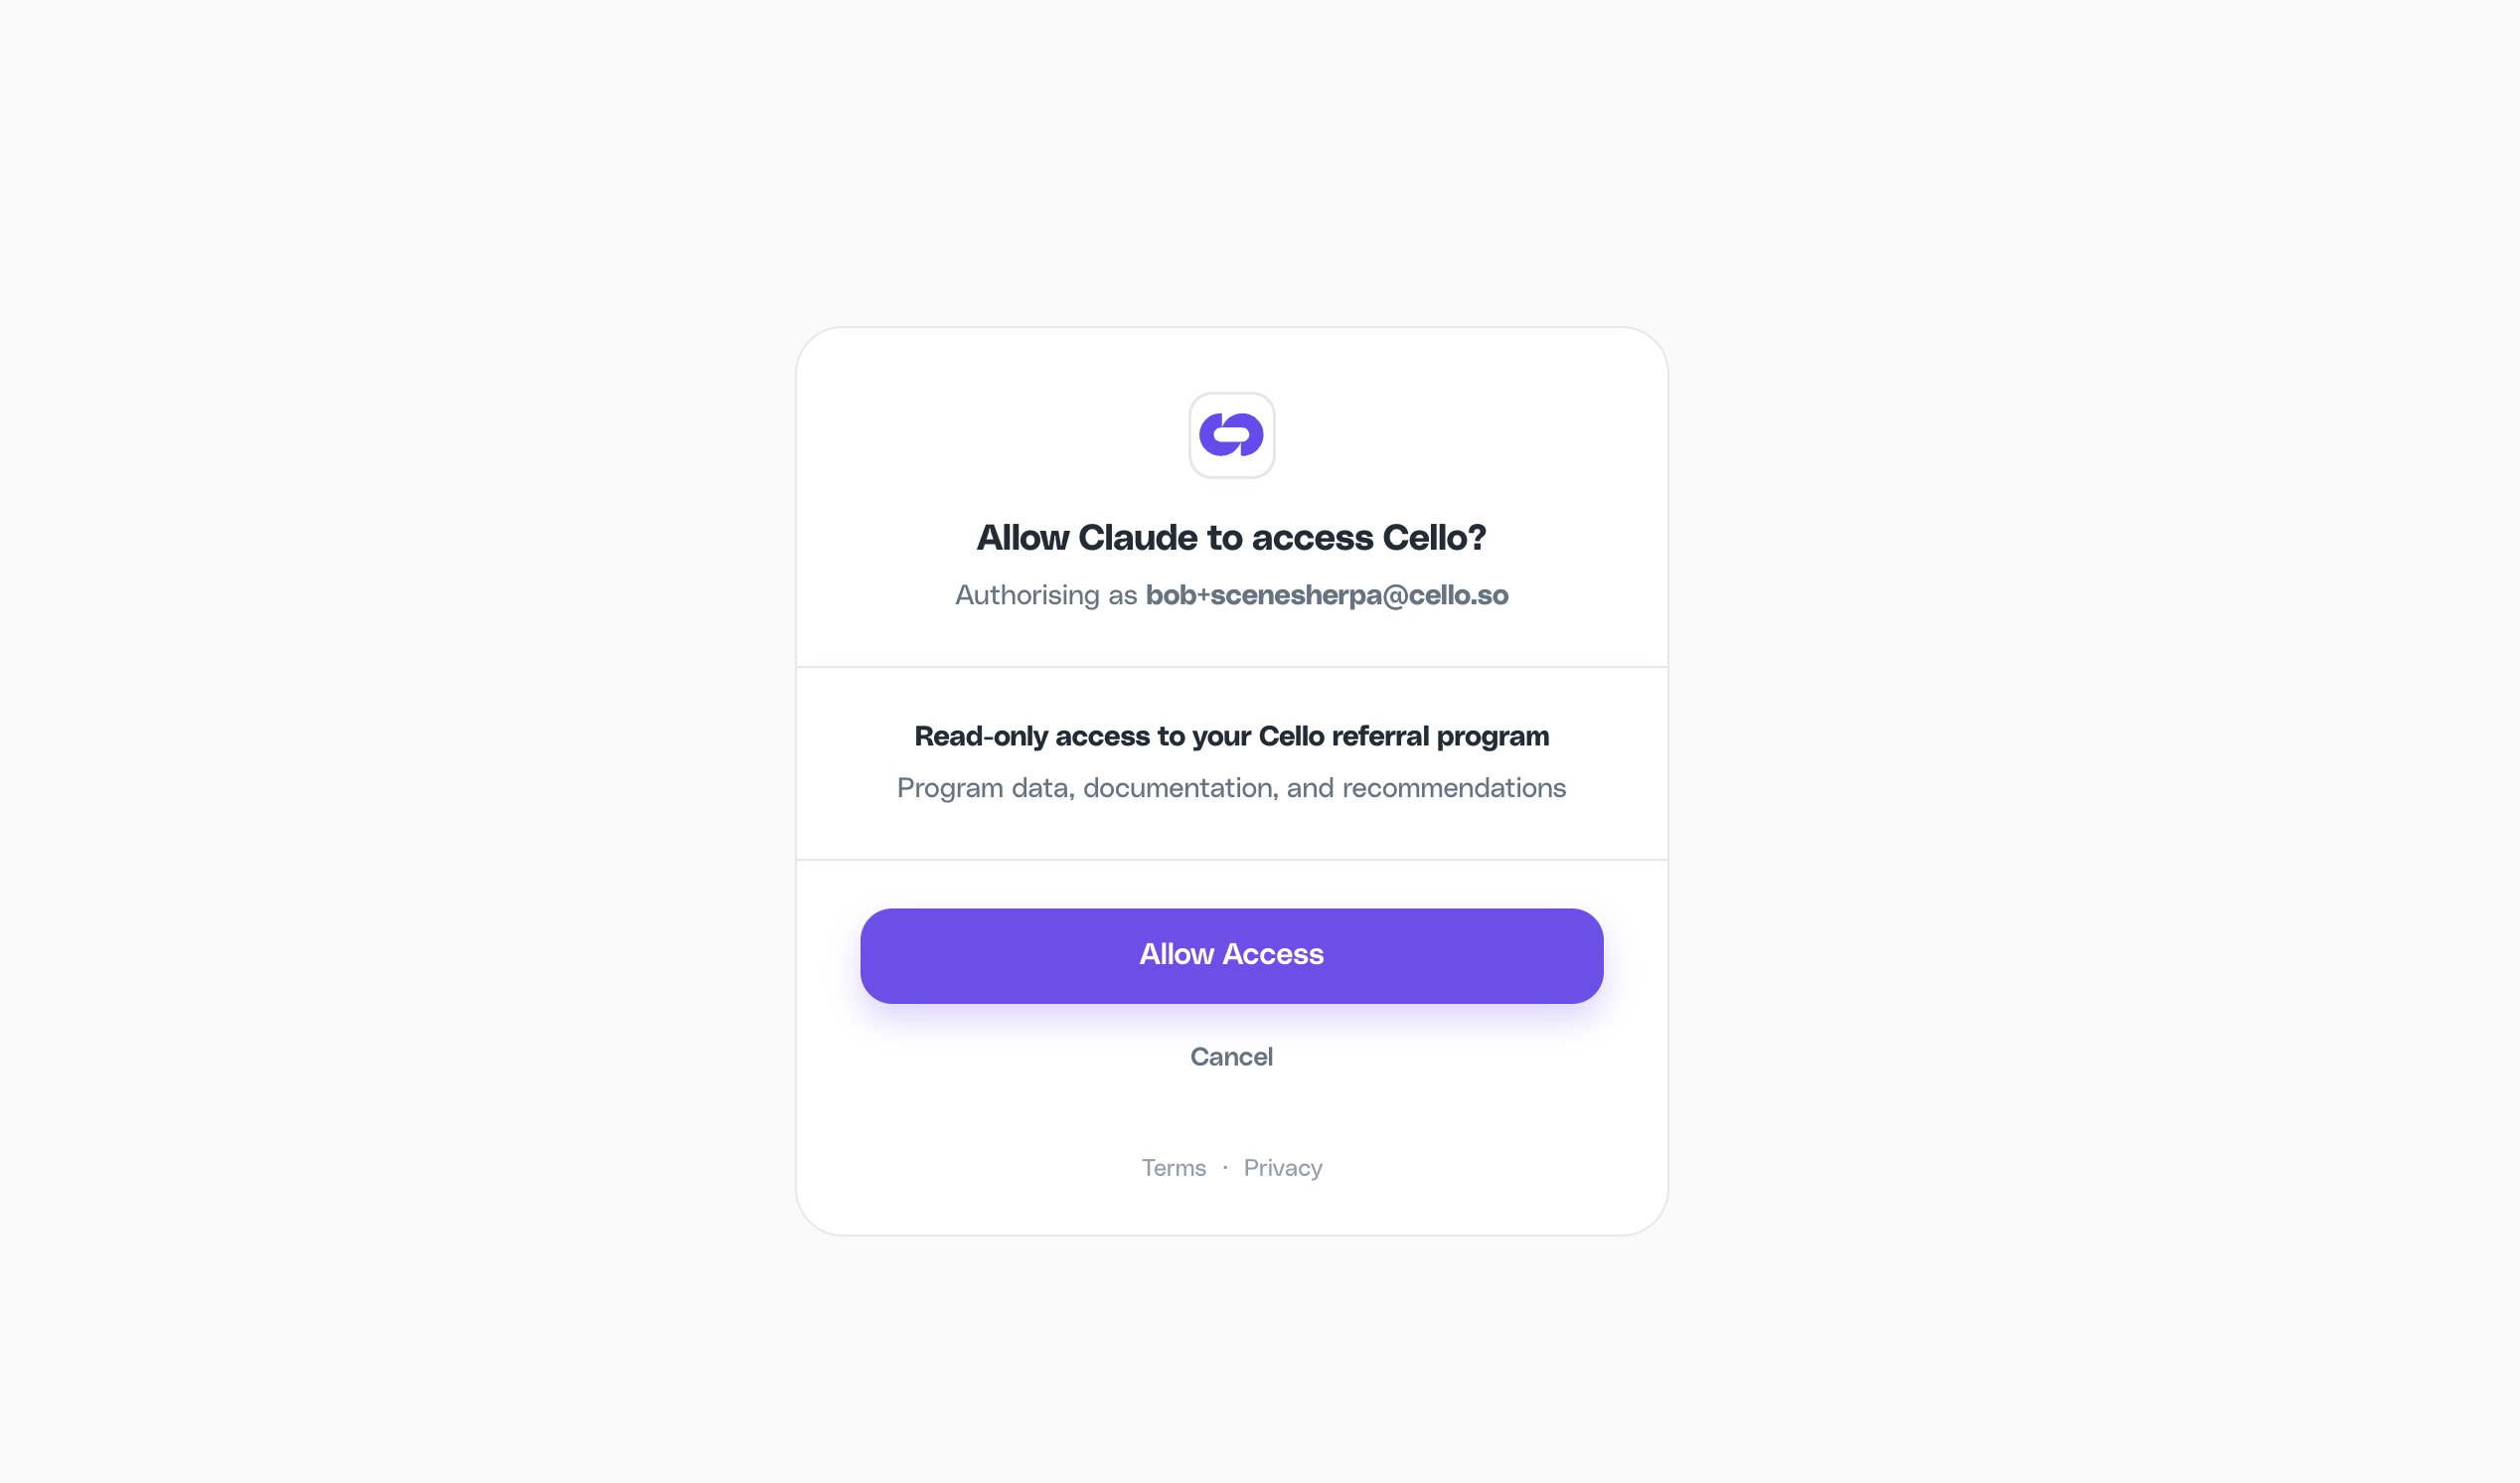
Connect Cello to the Claude desktop or web app as a custom connector. (For the Claude Code CLI, see Claude Code below.)- Go to Settings → Connectors
- Click Add custom connector
- Enter the following:
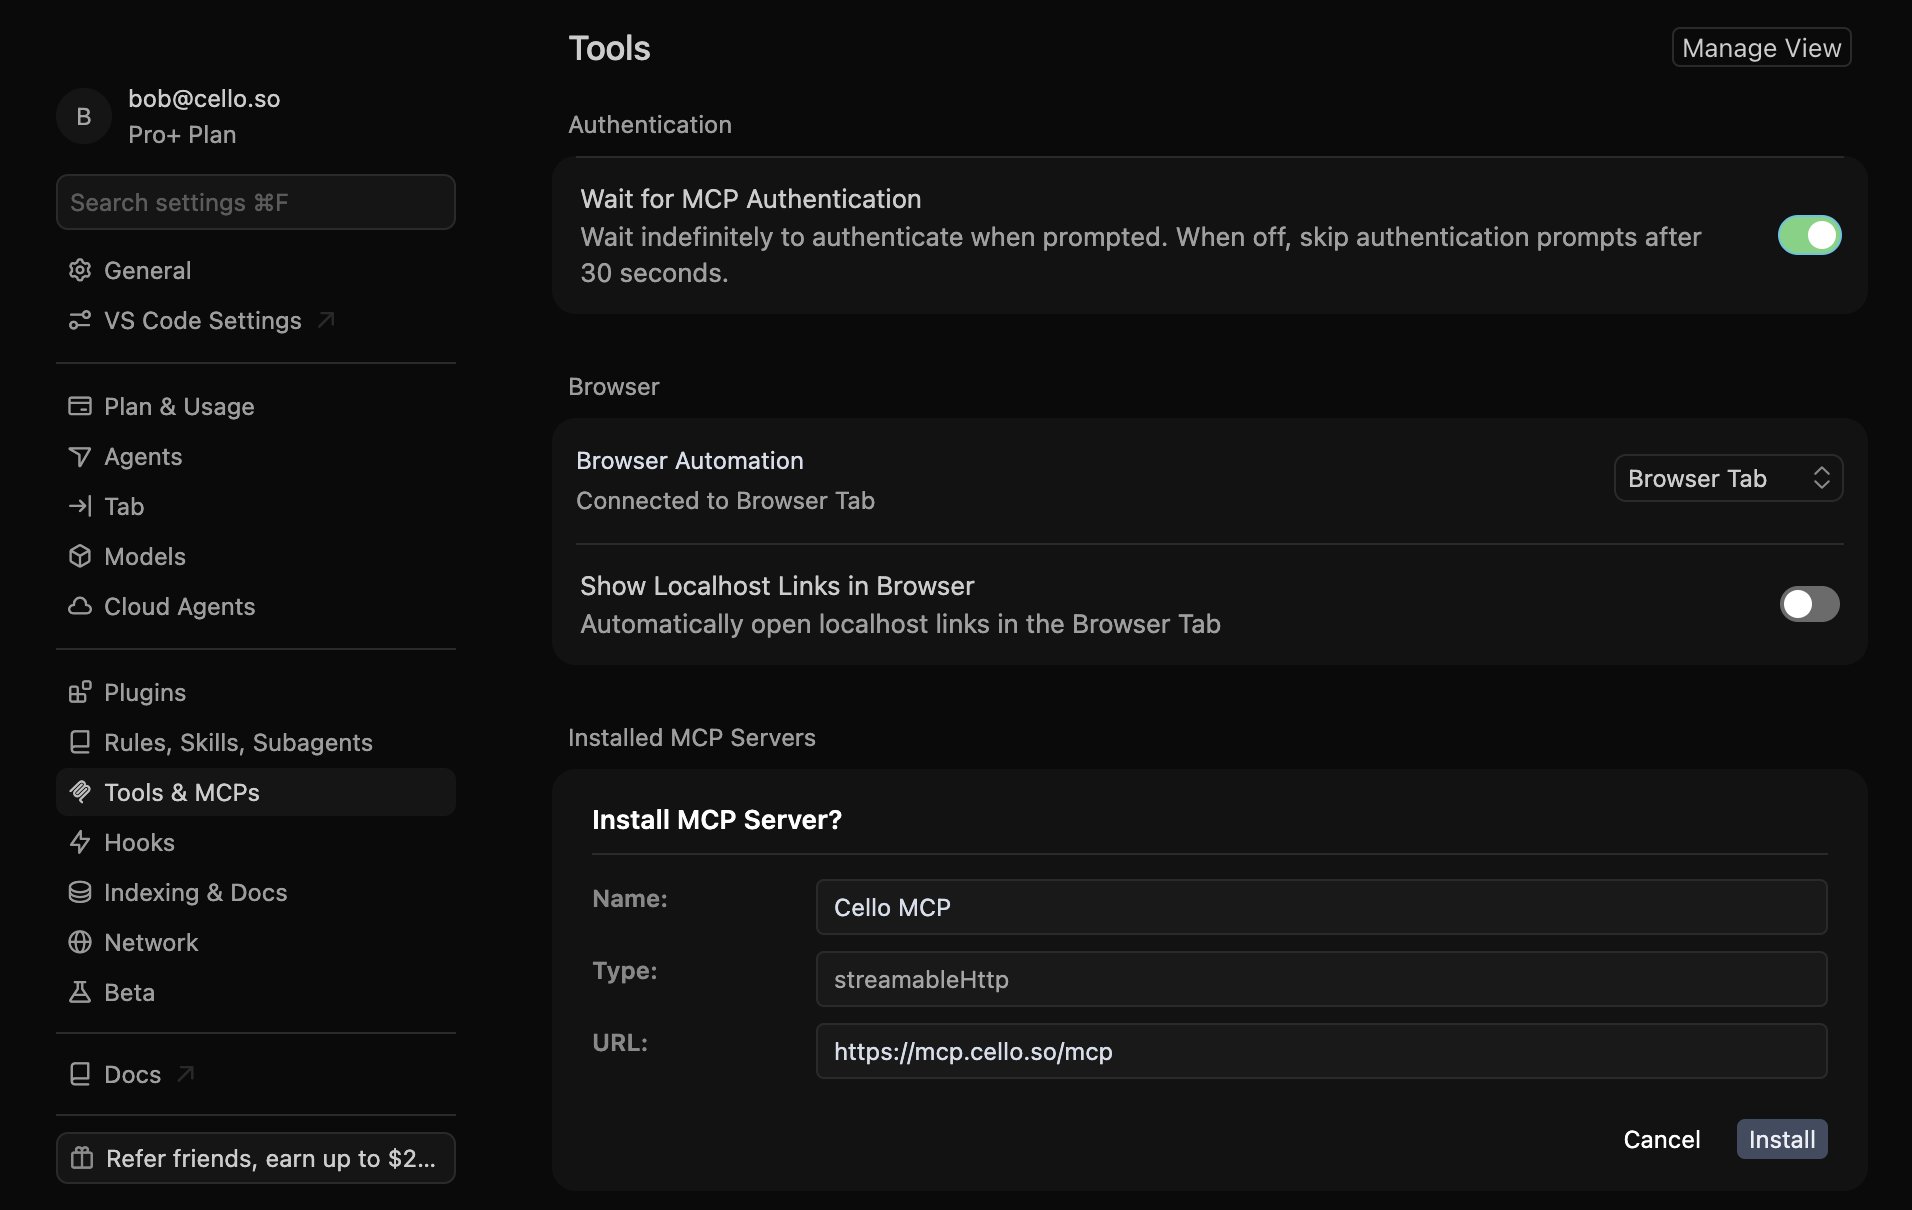
- Name:
Cello - Remote MCP server URL:
https://mcp.cello.so/mcp
- Name:
- Click Add, then Connect.
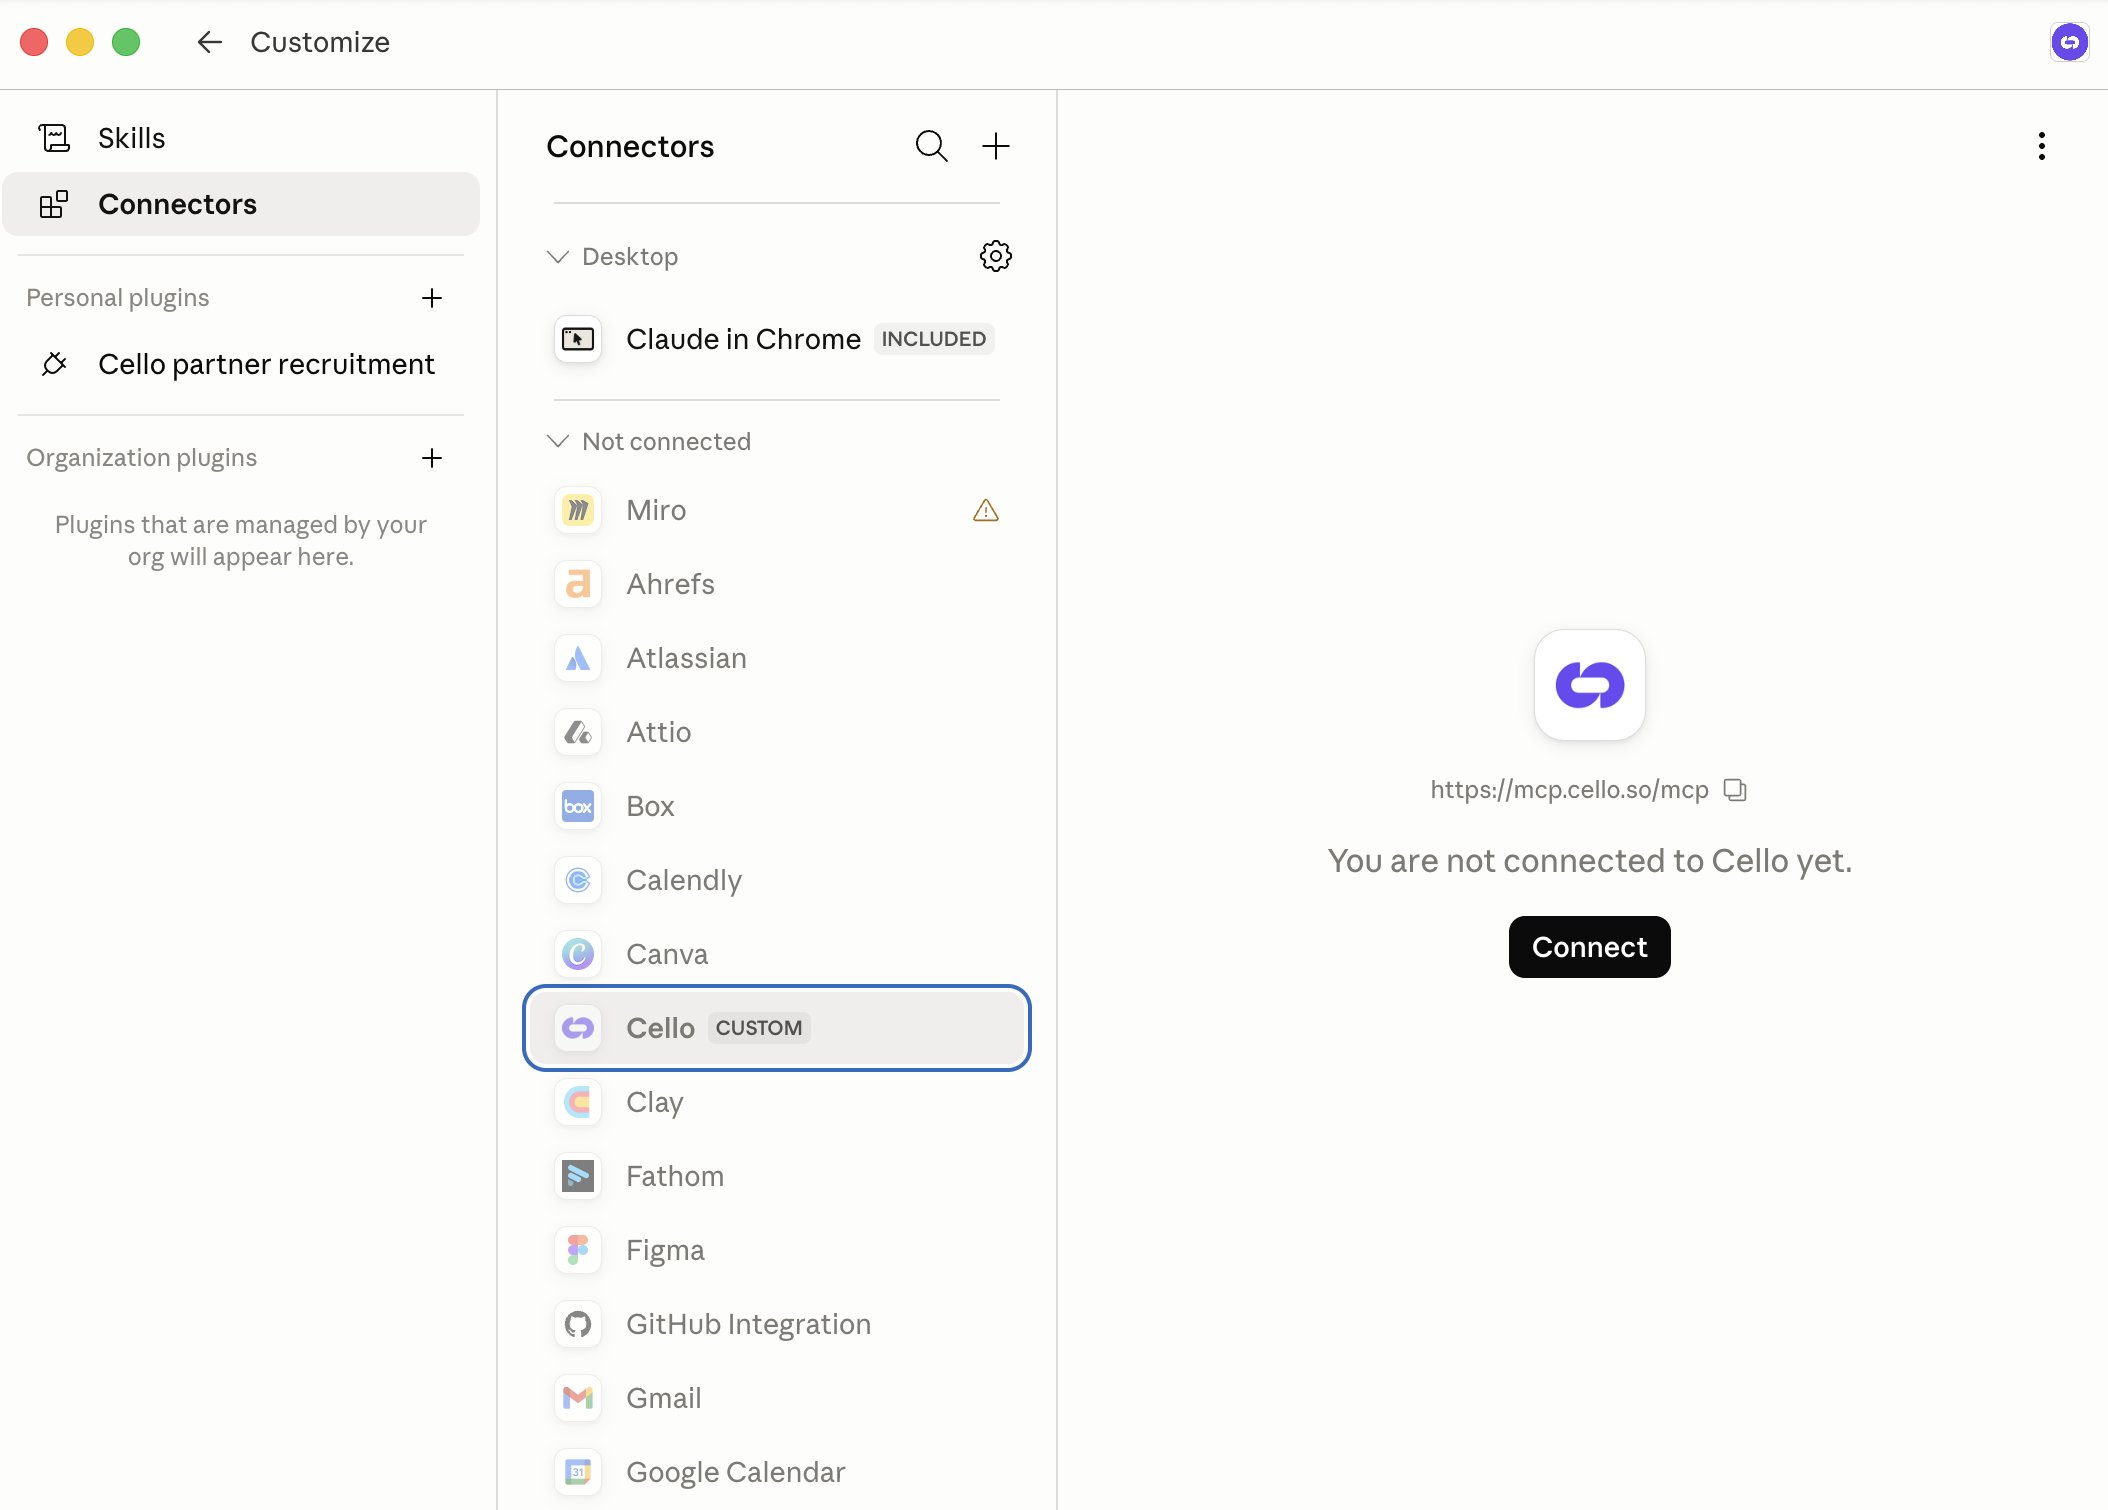
On Team, Enterprise, and Edu plans, an admin may need to add Cello as an organization connector first via Settings → Connectors → Organization plugins before members can connect.
Claude Code
Add the server
Run the following in your terminal:Swap in the Sandbox URL (
https://mcp.sandbox.cello.so/mcp) if you’re connecting a test account.Authenticate with Cello
Run
/mcp inside Claude Code, select Cello, and choose Authenticate. A browser window opens for you to sign in to Cello and authorize access. Claude Code stores and refreshes the connection for you - there’s no token to manage.Cursor
The quickest way is to click Cursor directly from the MCP Server page in the Cello Portal — it adds the server to Cursor automatically. Or add it manually: go to Cursor Settings → Tools & Integrations → MCP Servers → Add Server and enter the server URL. When Cursor connects, it opens a browser window to sign in to Cello and authorize access.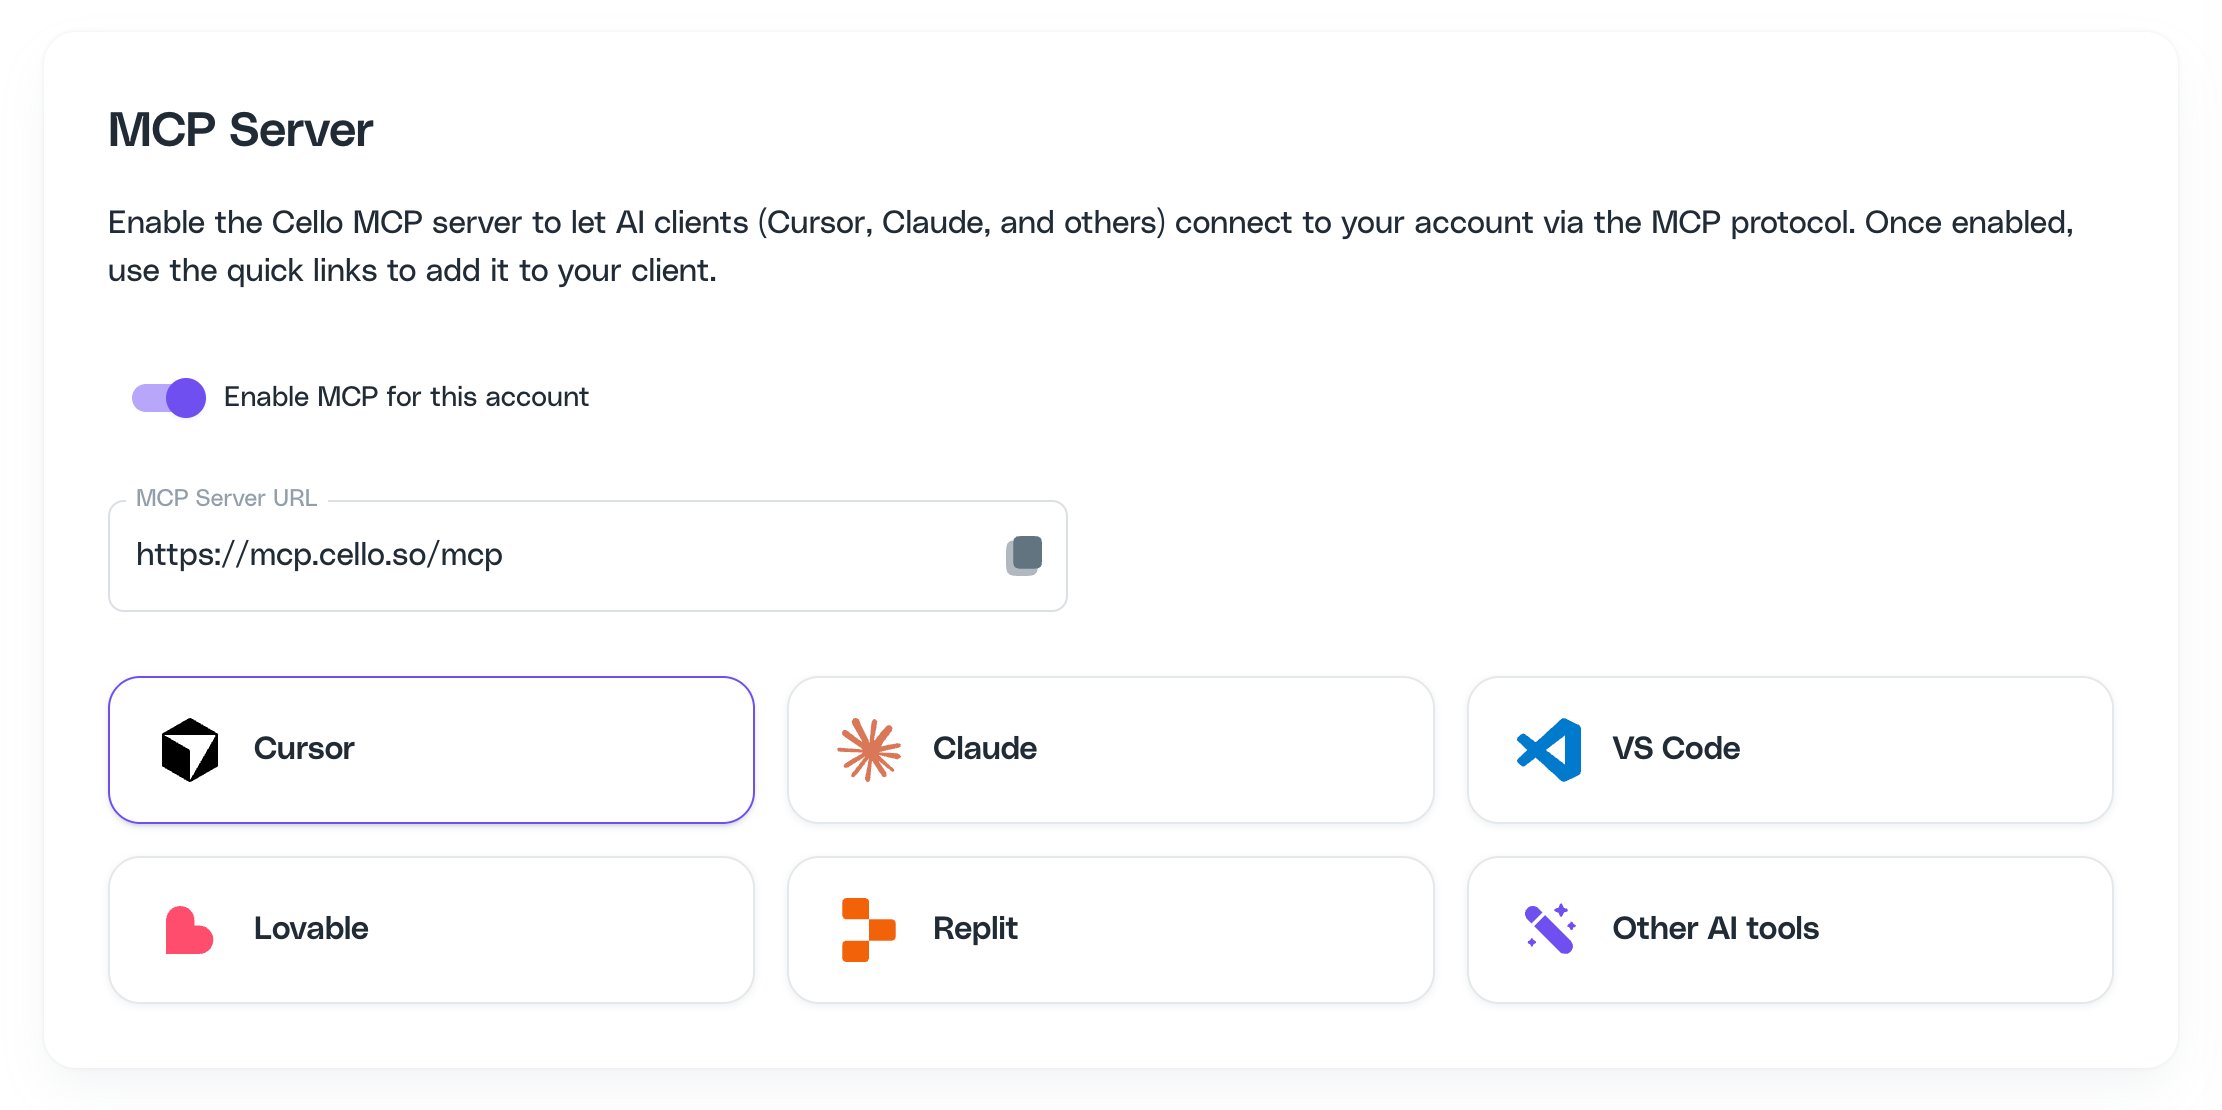
~/.cursor/config/mcp.json (macOS/Linux) or %USERPROFILE%\.cursor\config\mcp.json (Windows):
VS Code (Copilot)
Create or edit.vscode/mcp.json in your workspace (or use MCP: Add Server from the Command Palette):
Windsurf
- Go to Settings → MCP
- Click Add Server
- Enter the server URL:
https://mcp.cello.so/mcp - Windsurf opens a browser window to sign in to Cello and authorize access.
Lovable
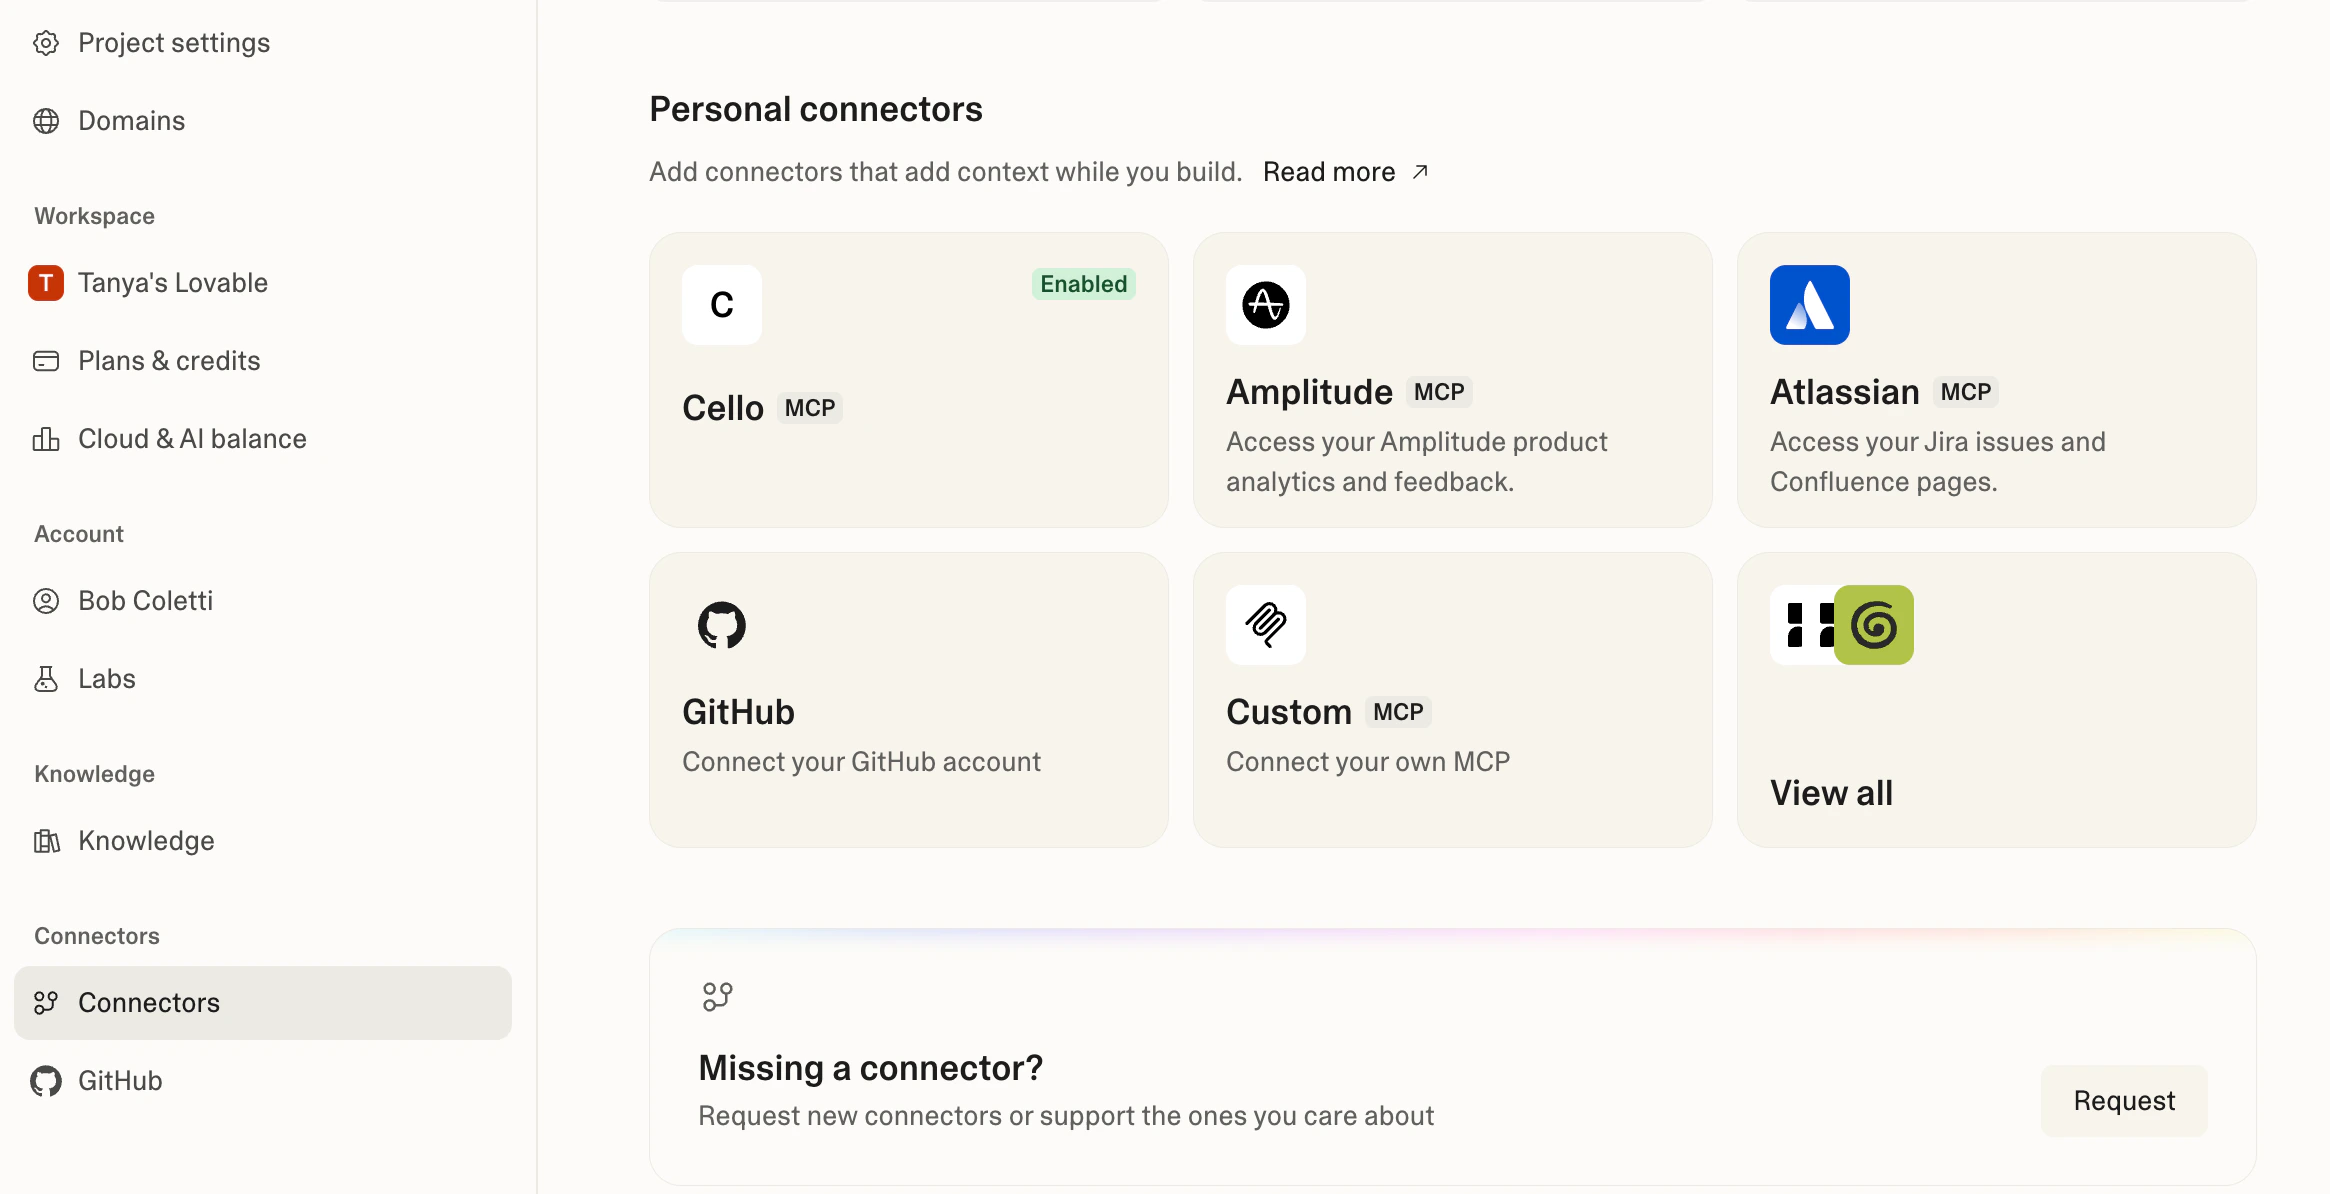
Add the Cello MCP as a custom personal connector in Lovable:- In Lovable, go to Settings → Connectors → Personal connectors
- Click New MCP server
- Enter the following:
- Server name:
Cello - Server URL:
https://mcp.cello.so/mcp - Authentication: Select OAuth
- Server name:
- Click Add & authorize. A browser window opens for you to sign in to Cello and authorize access.
Other MCP clients
Any tool that supports MCP can connect to the Cello MCP server. Add the following to your client’s MCP configuration:- Server URL:
https://mcp.cello.so/mcp - Authentication: OAuth - sign in to Cello in the browser window your client opens
Troubleshooting
| Issue | Solution |
|---|---|
| Connection fails | Re-run the authorization flow from your client to sign in to Cello again. Make sure you’re signing in to the account that matches the server URL’s environment (Production vs Sandbox). |
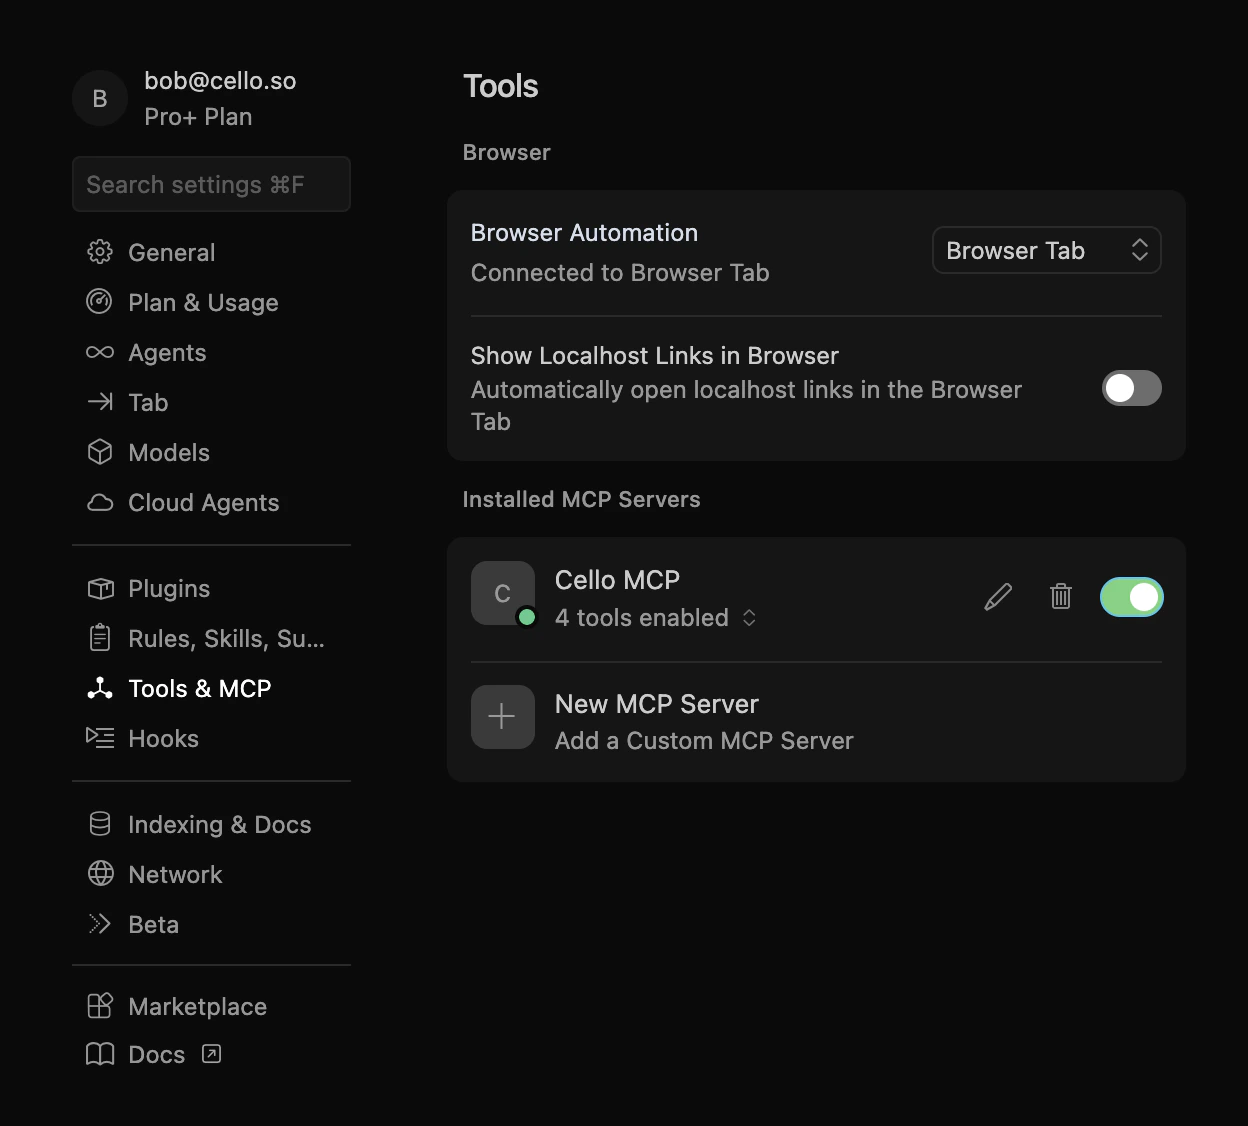
| Tools return authentication errors | Disconnect and reconnect the server to refresh authorization. Check that MCP is enabled for your account in the portal (Integrations → MCP). |
| You don’t see the tools you expect | The available tools depend on your Cello role. If you expect developer or growth tools and don’t see them, contact your Customer Success Manager. |
cello_get_integration_status shows notConnected | Follow the relevant integration guide for the disconnected component. Use search_cello to find the setup docs. |
| Events show validation warnings | Use cello_get_events to inspect the payload and identify missing or malformed fields (ucc, productUserId, customerId). |
| Data or recommendations look out of date | Most data is live; config-based recommendations reflect the current setup, while CRM-derived recommendations may have a slight delay. |