> ## Documentation Index
> Fetch the complete documentation index at: https://docs.cello.so/llms.txt
> Use this file to discover all available pages before exploring further.
# Stripe Webhook
> Send signup and purchase events to Cello using Stripe Webhook
Cello makes it easy to **connect securely to your Stripe payment provider** to automate transaction events, attribution, and payouts. Transactions are monitored and used to pay out referrers based on your campaign reward rules.
# Overview
A notification event is securely sent to Cello through the webhook endpoint every time a customer makes a purchase or a customer record is created or updated. Cello checks these events to perform the following actions:
* Determine if a reward for the referrer needs to be created and paid out
* Inform the referrer about new signups and rewards
* Cancel recurring rewards if a subscription is cancelled
If the automation of Cello detects unclear cases the automation will be paused and Cello will reach out to you to clarify the case.
After setting up the webhook, check [Integration Status](/guides/support/portal/integration-status) in the Cello Portal to confirm Cello is receiving events from Stripe. If a component shows a warning or error, open the [Event Feed](https://portal.cello.so/integrations/events-feed) to drill into individual events and see which fields are failing validation.
# Endpoint URLs
You will find the webhook endpoint URL in the [Cello Portal Webhooks page](https://portal.cello.so/integrations/webhooks).
# Connecting Stripe
## Prerequisites
Before configuring webhooks, ensure your Stripe customers include the required Cello metadata. This metadata enables proper attribution and reward tracking.
**When to add metadata:**
* If you create Stripe customers at signup → You would have already added metadata to the customer during the [Setup Step "Track Signups"](/attribution/tracking-signups)
* If you create Stripe customers at purchase → Make sure to add metadata when creating the customer
### Required Stripe Customer Metadata
Pass the following fields during Stripe Checkout in the [Customer Object](https://docs.stripe.com/api/customers/object?api-version=2024-09-30.acacia#customer_object-metadata) and [Checkout Session object](https://docs.stripe.com/api/checkout/sessions/object?api-version=2025-07-30.basil)
| Field | Description | Stripe Object |
| -------------------------- | ----------------------------------------------------------------------------------------------------------------------------------------- | --------------------------------------------------------------------------------------------------------------------------------------------------- |
| `cello_ucc` | Referral code identifying the referrer | Stripe [Customer Object](https://docs.stripe.com/api/customers/object?api-version=2024-09-30.acacia#customer_object-metadata), attribute:`metadata` |
| `new_user_id` | Your system's unique user ID. Same as `productUserId` used in [Referral Component](/referral-component/introduction) when booting the SDK | Stripe [Customer Object](https://docs.stripe.com/api/customers/object?api-version=2024-09-30.acacia#customer_object-metadata), attribute:`metadata` |
| `new_user_organization_id` | Organization ID (optional). Required only for organization-level referrals and rewards | Stripe [Customer Object](https://docs.stripe.com/api/customers/object?api-version=2024-09-30.acacia#customer_object-metadata), attribute:`metadata` |
| `coupon` | New user discount code. Learn how to apply discounts in this [guide](/attribution/apply-discounts). | Stripe [Checkout Session object](https://docs.stripe.com/api/checkout/sessions/object?api-version=2025-07-30.basil), attribute: `discount` |
## Steps
You will add a webhook to your Stripe configuration to connect Stripe and Cello. This can be done in both test and production environments separately.
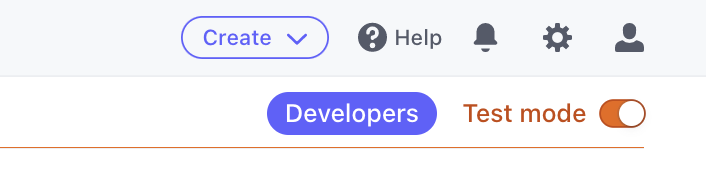
Select Developers from the upper right menu.
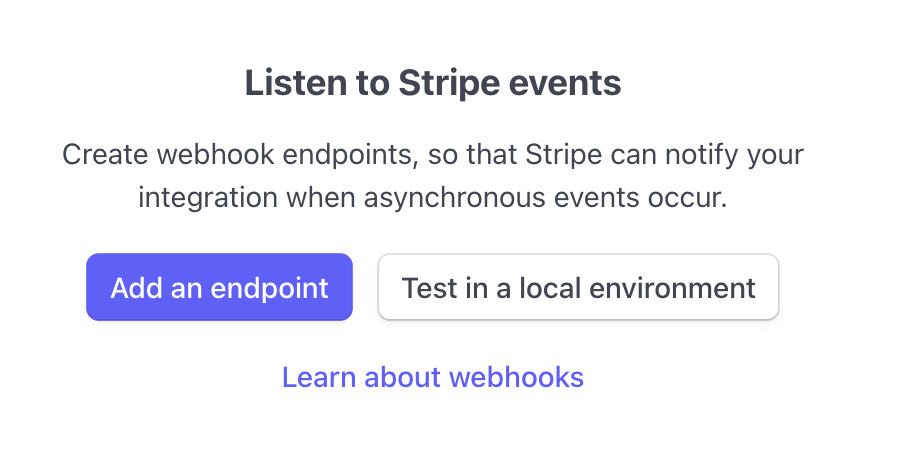
 You can find Webhooks at the left menu. Next click Add an endpoint.
  Choose the Endpoint URL corresponding to the environment you are setting up: **Sandbox** or **Production**.
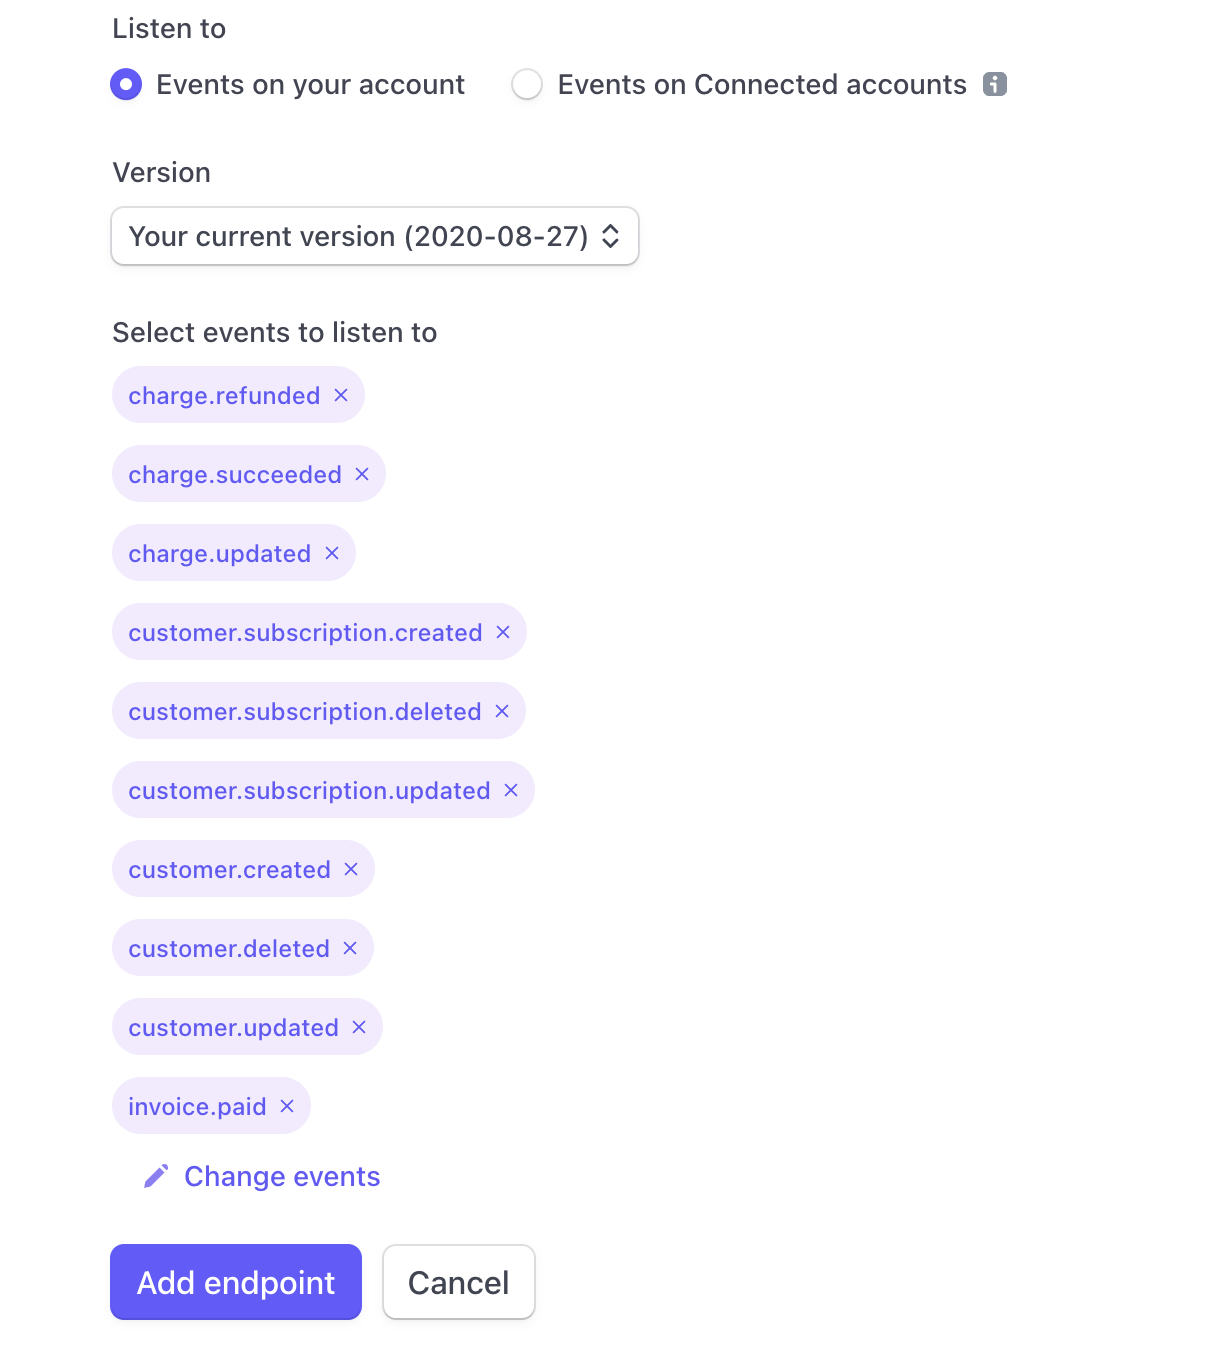
 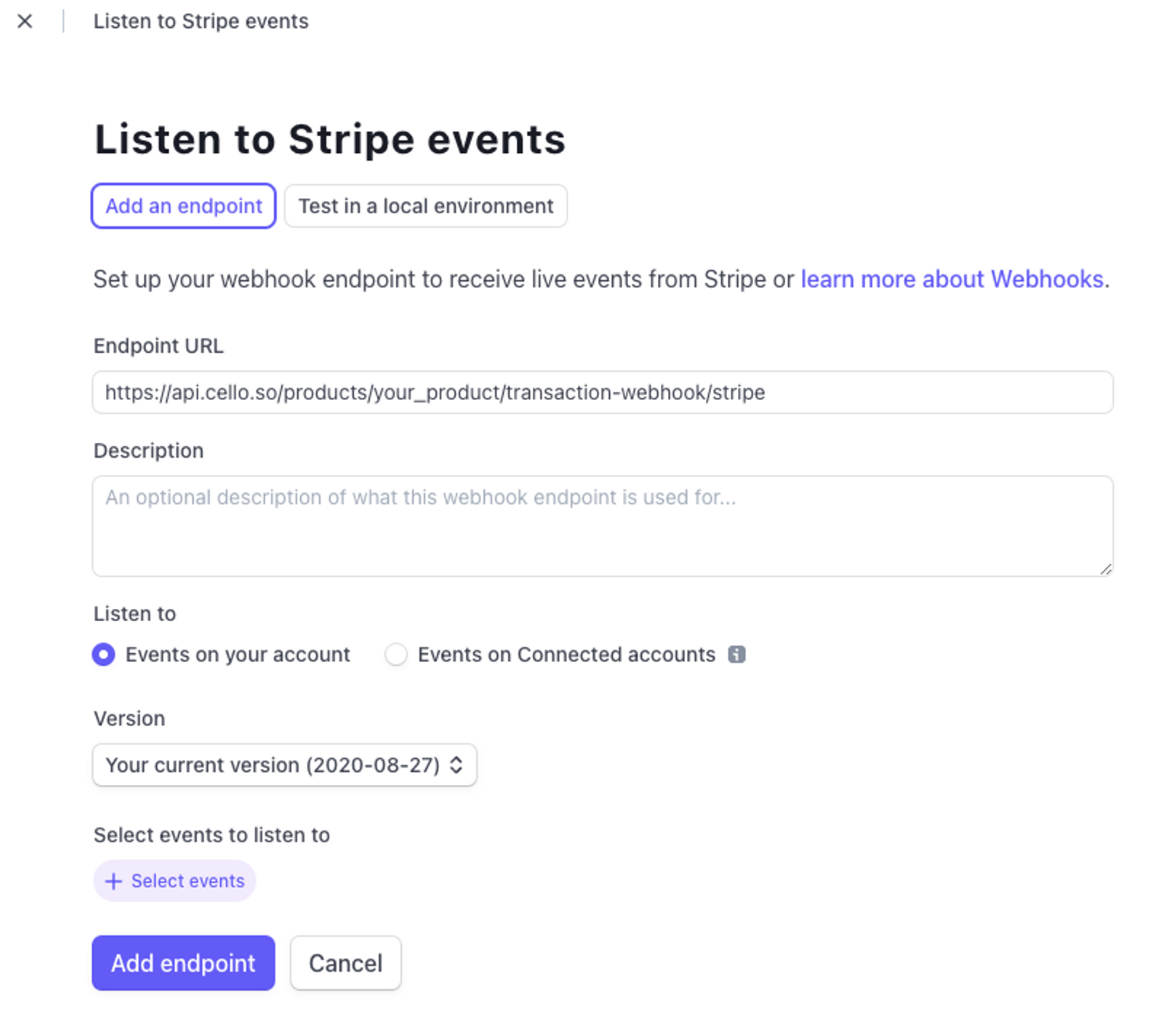 To select events, do the following steps:
1. Select "Events on your account"
2. Select your latest API version
3. Choose events to send:
1. `charge.refunded`, `charge.succeeded`, `charge.updated`
2. `customer.created`, `customer.deleted`, `customer.updated`
3. `customer.subscription.created`, `customer.subscription.deleted`, `customer.subscription.updated`
4. `invoice.paid`
To select events, do the following steps:
1. Select "Events on your account"
2. Select your latest API version
3. Choose events to send:
1. `charge.refunded`, `charge.succeeded`, `charge.updated`
2. `customer.created`, `customer.deleted`, `customer.updated`
3. `customer.subscription.created`, `customer.subscription.deleted`, `customer.subscription.updated`
4. `invoice.paid`
 Webhook created!
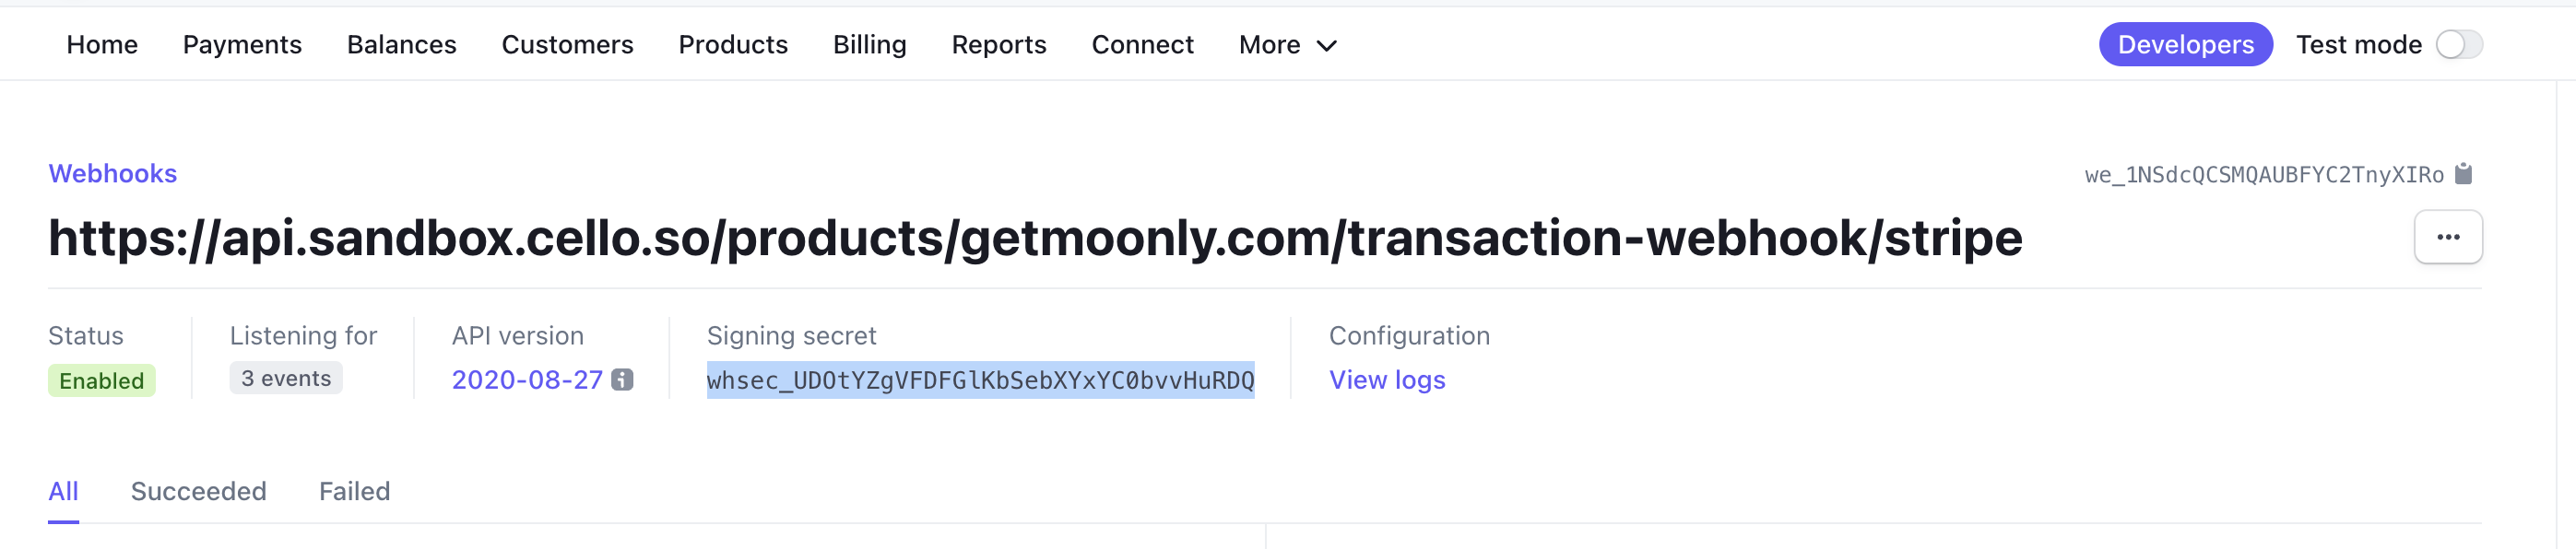
To secure the connection, you need to add the “Signing secret” to [Stripe Webhook Configuration in Cello Portal](https://portal.cello.so/integrations/webhooks).
Stripe Webhook Signing secret starts with `whsec_`
1. Click “Reveal” and copy the Signing secret
2. Add the Signing secret to Stripe webhook settings in the [Cello portal](https://portal.cello.so/integrations/webhooks).
Webhook created!
To secure the connection, you need to add the “Signing secret” to [Stripe Webhook Configuration in Cello Portal](https://portal.cello.so/integrations/webhooks).
Stripe Webhook Signing secret starts with `whsec_`
1. Click “Reveal” and copy the Signing secret
2. Add the Signing secret to Stripe webhook settings in the [Cello portal](https://portal.cello.so/integrations/webhooks).